GitHub Pages
There are endless number of website hosting options out there with varying ranges of prices and effort to maintain. For now, we are going to go with a middle ground option with GitHub Pages. GitHub pages offers an easy way of hosting static websites (static websites have no back-end server logic, like databases, users, etc.). You can host one public facing website for free with a basic account and more if you have a pro account. Here, we are going to walk through how to get a webpage setup on GitHub Pages.
1. Getting an Account
Getting an account on GitHub is pretty easy. To sign up, follow this link: https://github.com/signup. If you still have a few years left before you graduate, I highly recommend you use your K-State email address for your account so you can get the free student developer pack https://education.github.com/pack which has lots of free goodies. If you already have an account, you should be able to change your email address to take advantage of this perk.
2. Creating the Repository
To get starting making our webpage, we need a repository. Repositories are quite similar to file folders in Cloud Storage like OneDrive or Google Drive, they are a central storage location where people can collaborate, track changes, and develop software (among other things). The git version control system is developed with programming in mind and is a much better storage solution compared to your standard cloud storage built for documents and other types of data. You wont become a git pro in this chapter, but you can at least get an idea for what it is.
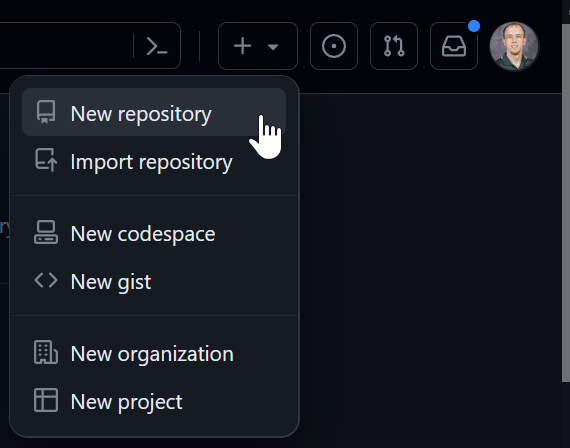
- To make your repository, sign-in to GitHub and click the “+” button in the top right corner, then click “New Repository”.
- That should take you to a page that looks like this:
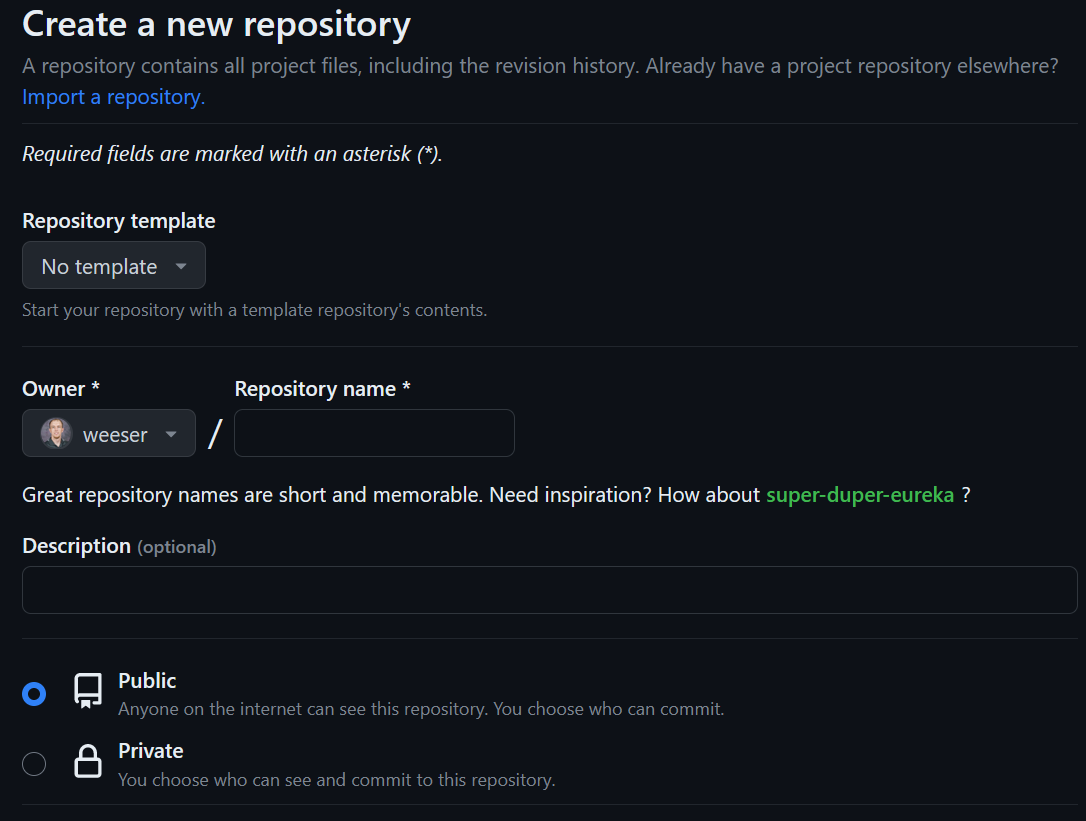
- To finish creating the repository, you need to name it “<user>.github.io” where
<user>is your GitHub username. For example, mine is named “weeser.github.io”. For settings, leave the repository as “Public” and also check the “Add a README File” box. Then you can click the “Create repository” button at the bottom.
3. Configuring Page Settings
Before we make any of our web pages, we need to configure a few things on our repository because GitHub pages are not enabled by default.
-
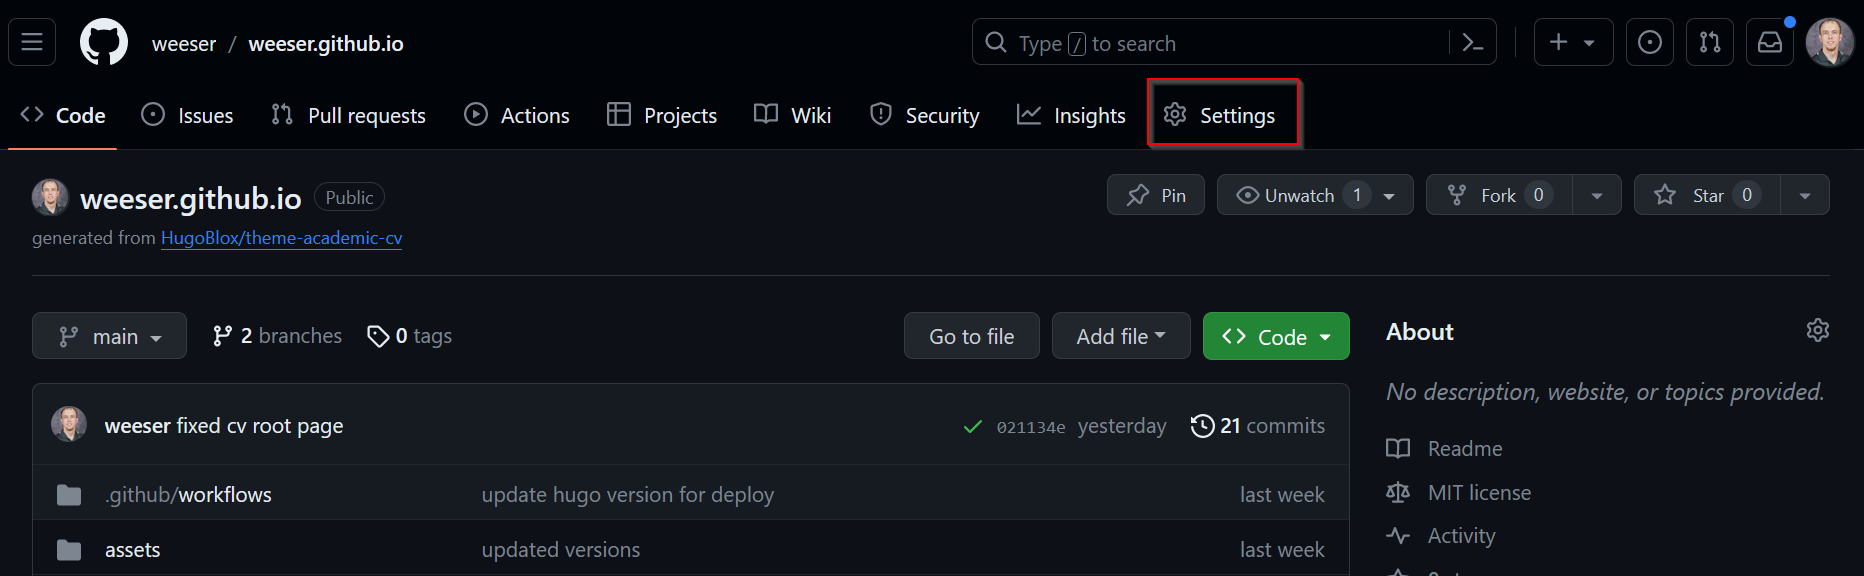
Open your repo’s settings. The link to these can be found under your repository name. If you do not see the “Settings” tab, click the … to reveal the drop down menu.
-
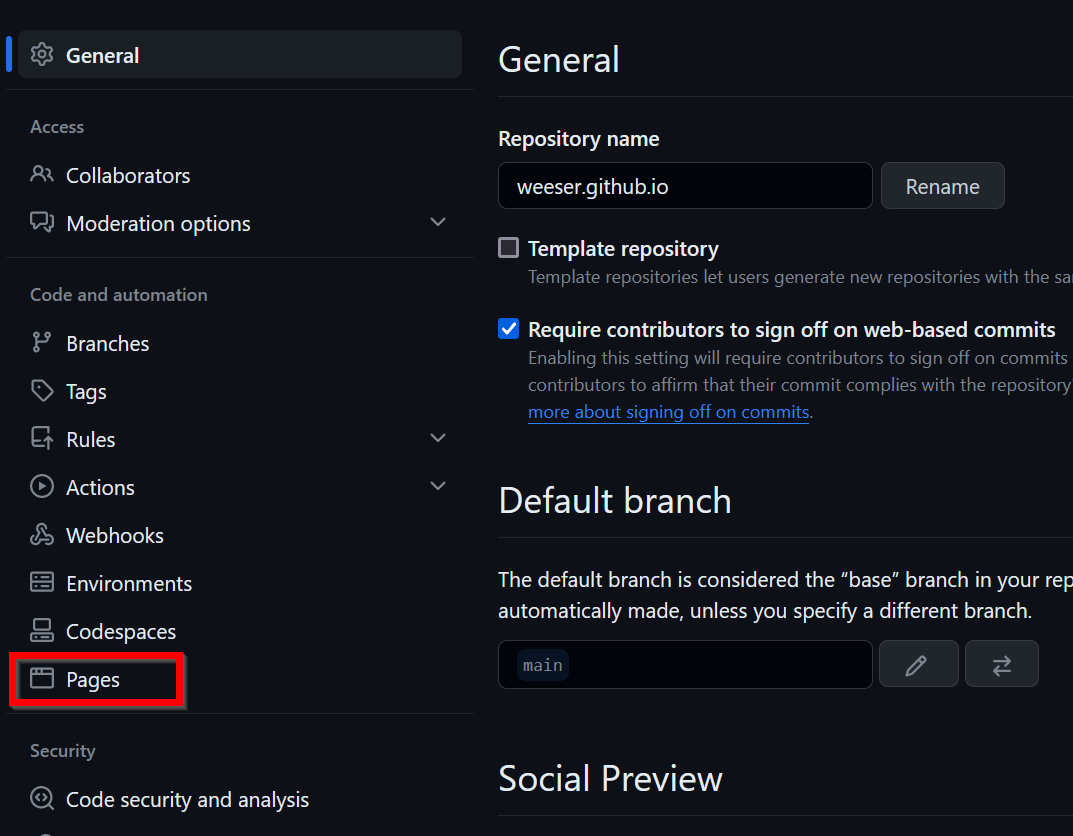
On the settings page, there should be a menu on the left. Under the “Code and automation” section, click on “Pages”
-
Now, under “Build and deployment”, under “Source” select the “Deploy from a branch” option.
-
You can now use the branch dropdown menu to select a publishing source. For this example, select the “main” branch.

-
You do not need to select a folder for your publishing source. It should, by default, be “/(root)” Make sure you click the “Save button though.

-
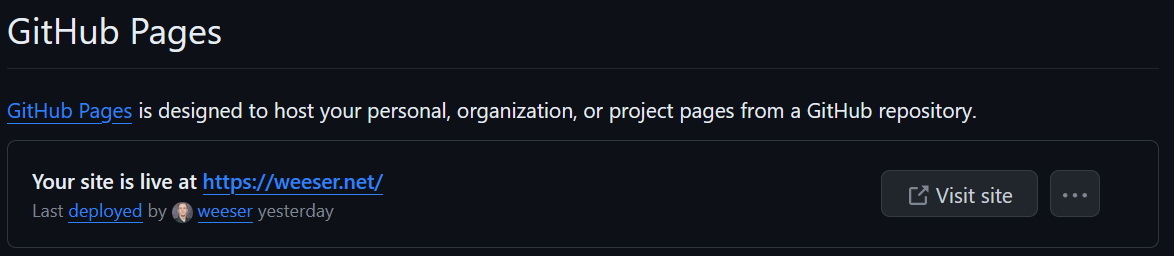
That’s it for now as far as settings go! You should see something like the following when looking at the “Page” settings, you should see something like the following…though note that your url will look quite different than mine since I use a custom domain. Yours should be something like “http://<user>.github.io”. You might have to refresh your page if you don’t see the webpage url. But you should be able to visit your site now, but there won’t be any content there yet.
Info
If you still don’t see a URL for your page being “live” yet, try to complete the next step in adding content. You might also try editing and committing the content a couple times (adding a space or something) to force GitHub to recompile your website. Then go back and refresh your page settings to see if the link shows. Sometimes GitHub may take a few minutes to compile your site.
4. Adding Content
There are a lot of ways to work on adding content to your repository. You can upload files or create new ones right in your web browser. For our purposes, we will choose to create one inside our browser. If you want to work locally on your computer, you can choose to upload files instead, or you can watch this tutorial https://youtu.be/RGOj5yH7evk?si=t-eH2zMQGiF8kUiX on how to use git.
- Follow the instructions here https://docs.github.com/en/repositories/working-with-files/managing-files/creating-new-files to create a new file.
- Name this file index.html and add the following code to it:
<!DOCTYPE html>
<html>
    <head>
        <title>Home Page</title>
    </head>

    <body>
        <h1>Hello World!</h1>
    </body>
</html>- To save the file, commit the changes directly to the main branch as shown in the instructions on step #1.
- Visit your webpage by going to “http://<user>.github.io”. You should see the “Hello World” message.
You are now off to the races! After this course, you will be able to use this repository to host any static website that you want. It is a great place to host a portfolio or CV to share with employers when interviewing and applying for jobs. We really only scratched the surface on what is possible with GitHub pages. If you want to learn more, you can explore their documentation https://docs.github.com/en/pages or check out more tutorials over on YouTube.