VS Code
VS Code
In CIS 308, we will edit our C programs using VS Code with C/C++ extensions. You likely already have Visual Studio (2019 or 2022) installed on your computer from CIS 300 and/or 400 – however, we will not be using Visual Studio in CIS 308. While it does have a C++ compiler, it behaves differently than more widely accepted C compilers (versions of gcc and clang). Finally, this class has a secondary goal of exposing students to a variety of Unix/Linux tools – something that cannot be done as easily in Visual Studio.
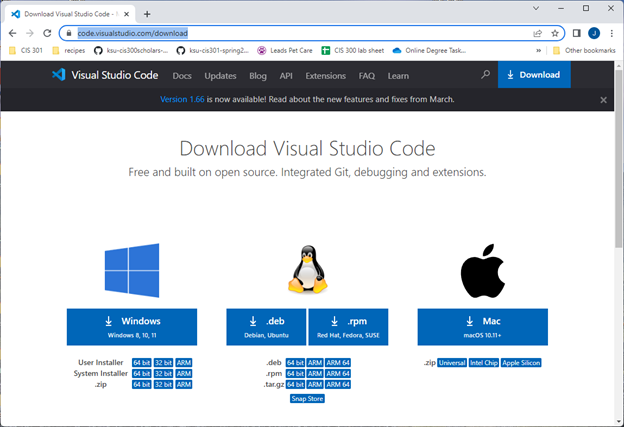
You can download VS Code here:
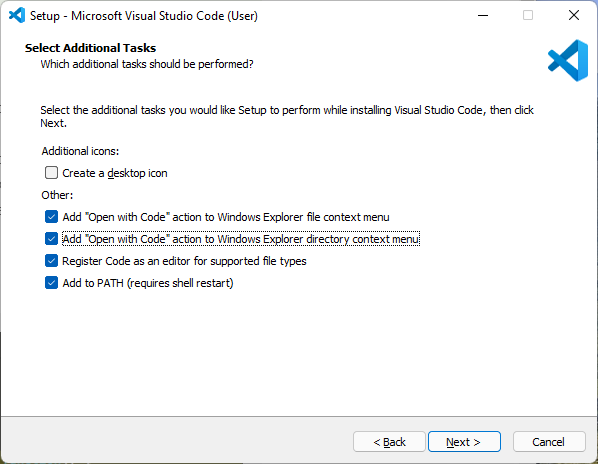
Install VS Code. When you see the prompt below, I recommend adding the “Open with code” action for both files and directories:
C/C++ extensions
If you are prompted to install C/C++, do so. If you are not, launch VS Code and select “Extensions” from the left-hand toolbar. From there, you can find and install “C/C++” (this will add syntax highlighting to our C programs).
We ONLY need C/C++, not the whole extension pack.
VS Code integrated terminal
We will be using the integrated terminal within VS Code, so that we can have the editor and the terminal (for compiling and running) within the same frame. If you do not see the Terminal at the bottom of VS code, select Terminal->New Terminal.
Windows users will want to select powershell as their terminal type, and Mac users will want to select the Mac terminal.
Get the compiler
VS code does not contain a C compiler (even with the C/C++ extensions) – we will need to install one.
Windows users
I recommend using either MSYS2 or WSL. (I prefer WSL, but on some systems it requires a BIOS edit before it will work.) You can download MSYS2 here. Follow the installation instructions.
Then, launch an MSYS2 shell (click Start, type MSYS2, and run the app). In the resulting shell, type:
pacman -S base-devel gccWhen prompted, say Y. You should now have both gcc and make installed.
In order to use these commands from the command prompt, you will need to add their location to your Path. Check both C:\msys64\mingw64\bin and C:\msys64\usr\bin – copy the address of whichever location contains gcc.exe.
Next, add that location to your Path. Click Start, type Environment variables, and select “Edit the system environment variables”). Click “Environment Variables..”, then find Path under System variables and click “Edit…”. Click “New”, paste in the address you copied in the previous step, and click OK three times to dismiss each frame.
Open VS Code with an integrated terminal. Try typing:
gccand then:
makeYou should see an error that no input files were provided (and not that the term is unrecognized).
Mac users
After installing VS Code with C/C++, follow this user guide to get gcc and make.
Open VS Code with an integrated terminal, and type:
gcc --versionIf you get an error that gcc is unrecognized, run the command:
xcode-select --installIf you try gcc --version again, it should give you a version number.
Organizing labs
I recommend that you create a folder specifically for CIS 308, and then create subfolders within that folder for each lab assignment. If you are using the lab machines, you will want to put this folder on the U: drive, as files saved in other locations may be deleted.
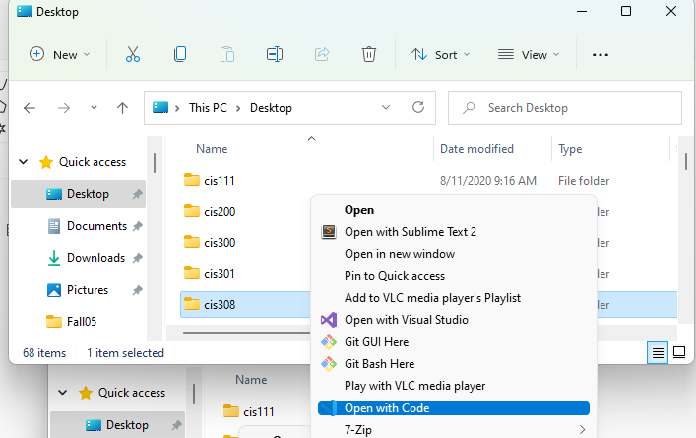
When you are ready to start a lab assignment, right-click your CIS 308 folder and select “Open with Code”:
This will open everything within your CIS 308 subfolder in VS Code:
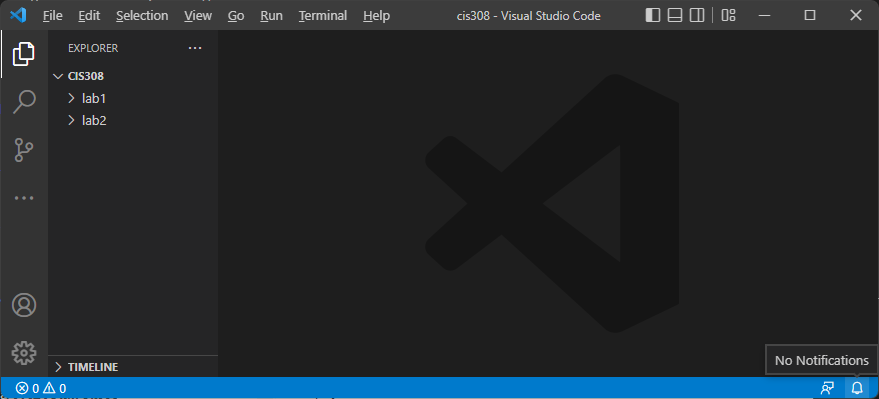
Now, display the integrated terminal in VS Code (Terminal->New Terminal):
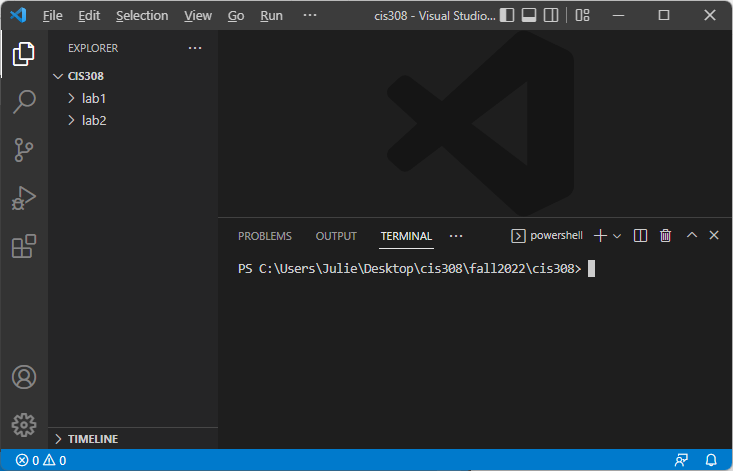
(My directory structure might look strange because I created a second CIS 308 folder for the purposes of making these screenshots.)
Starting the next lab
After following the instructions above to open VS Code to your CIS 308 folder with the integrated terminal displayed, you are ready to create a new, empty folder for the current lab. Suppose we are ready for lab 3. In the integrated terminal, type:
mkdir lab3You should see a new lab3 folder in the project view on the left:
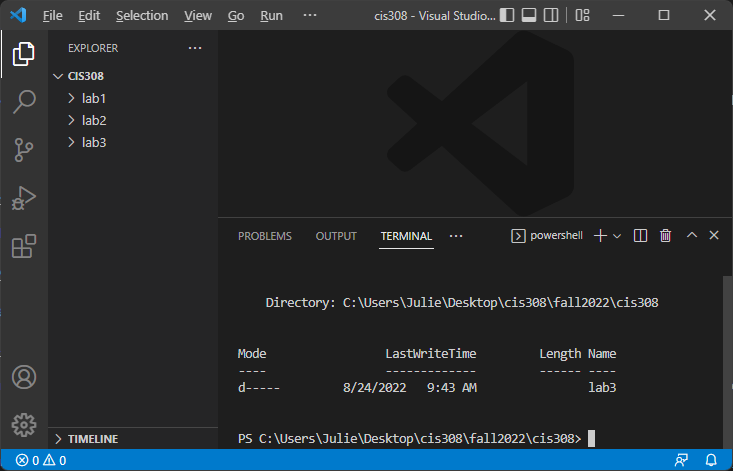
Next, use the cd command in the integrated terminal to change directories to your new folder. Type:
cd lab3(or whatever the current lab is). You should notice that the directory listed in the terminal prompt ends with you new folder, like this:

You are now ready to follow the steps in the next section, “Using Git”, to clone the starting repository for your lab.