GitHub Codespace
Creating a Codespace
To begin, we will start with an empty GitHub repository. You can either create one yourself, or you may be working from a repository provided through GitHub Classroom.
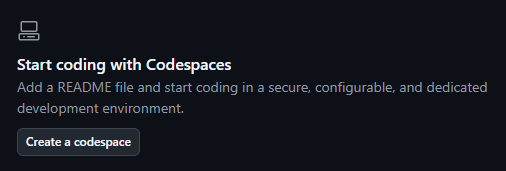
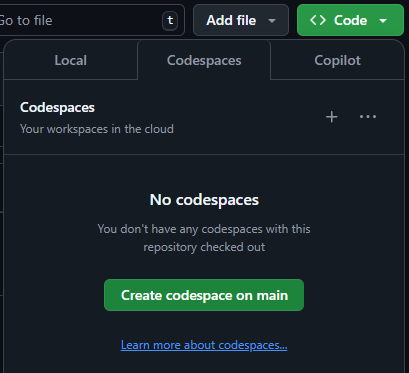
At the top of the page, you may see either a Create a Codespace button in an empty repository, or a Code button that opens a panel with a Codespaces tab and a Create Codespace on main button in an initialized repository. Go ahead and click that button.
Once you do, GitHub will start creating a new GitHub Codespace for your project. This process may take a few moments.
Once it is done, you’ll be presented with a window that looks very similar to Visual Studio Code’s main interface. In fact - it is! It is just a version of Visual Studio Code running directly in a web browser. Pretty neat!
For the rest of this project, we’ll do all of our work here in GitHub Codespaces directly in our web browser.
Working Locally?
If you would rather do this work on your own computer, you’ll need to install the following prerequisites:
For now, you’ll start by cloning your GitHub repository to your local computer, and opening it in Visual Studio Code. We’ll create some configuration files, and then reopen the project using a Dev Container in Docker. When looking in the Command Palette, just swap the “Codespaces” prefix with the “Dev Containers” prefix in the command names.
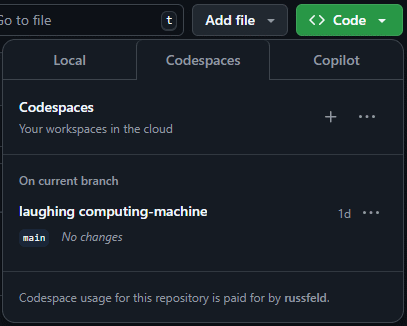
Once you’ve created your GitHub Codespace, you can always find it again by visiting the repository in your web browser, clicking the Code button and choosing the Codespaces tab.
Configuring the Codespace
When we first create a GitHub Codespace, GitHub will use a default dev container configuration. It includes many tools that are preinstalled for working on a wide variety of projects. Inside of the Codespace, you can run the following command in the terminal to get a URL that contains a list of all tools installed and their versions:
$ devcontainer-info content-urlThe current default configuration as of this writing can be found here.
Documenting Terminal Commands
In these example projects, we’ll prefix any terminal commands with a dollar sign $ symbol, representing the standard Linux terminal command prompt. You should not enter this character into the terminal, just the content after it. This makes it easy to see individual commands in the documentation, and also makes it easy to tell the difference between commands to be executed and the output produced by that command.
You can learn more in the Google Developer Documentation Style Guide.
For this project, we are going to configure our own dev container that just contains the tools we need for this project. This also allows us to use the same configuration both in GitHub Codespaces as well as locally on our own systems using Docker.
To configure our own dev container, we first must open the Visual Studio Code Command Palette. We can do this by pressing CTRL+SHIFT+P, or by clicking the top search bar on the page and choosing Show and Run Commands >.
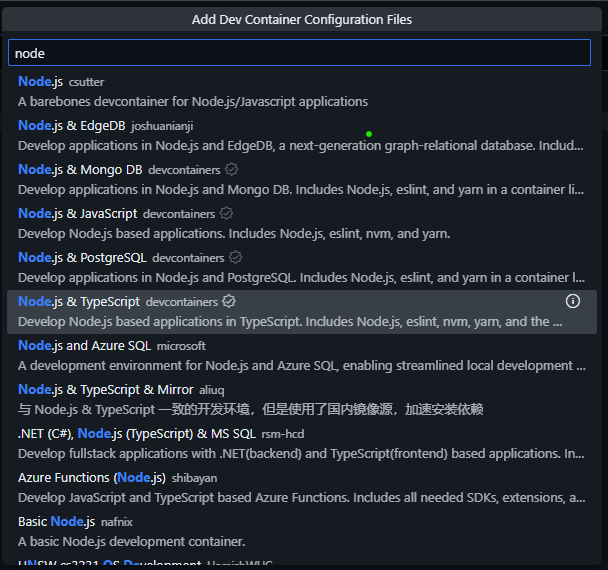
In the Command Palette, search for and choose the Codespaces: Add Dev Container Configuration Files… option, then choose Create a new configuration…. In the list that appears, search for “node” to find the container titled “Node.js & TypeScript” and choose that option.
You’ll then be prompted to choose a version to use. We’ll use 22-bookworm for this project. That refers to Node version 22 LTS running on a Debian Bookworm LTS Linux image. Both of these are current, long term supported (LTS) versions of the software, making them an excellent choice for a new project.
Finally, the last question will ask if we’d like to add any additional features to our dev container configuration. We’ll leave this blank for now, but in the future you may find some of these additional features useful and choose to add them here.
Once that is done, a .devcontainer folder will be created, with a devcontainer.json file inside of it. The content of that file should match what is shown below:
// For format details, see https://aka.ms/devcontainer.json. For config options, see the
// README at: https://github.com/devcontainers/templates/tree/main/src/typescript-node
{
	"name": "Node.js & TypeScript",
	// Or use a Dockerfile or Docker Compose file. More info: https://containers.dev/guide/dockerfile
	"image": "mcr.microsoft.com/devcontainers/typescript-node:1-22-bookworm"

	// Features to add to the dev container. More info: https://containers.dev/features.
	// "features": {},

	// Use 'forwardPorts' to make a list of ports inside the container available locally.
	// "forwardPorts": [],

	// Use 'postCreateCommand' to run commands after the container is created.
	// "postCreateCommand": "yarn install",

	// Configure tool-specific properties.
	// "customizations": {},

	// Uncomment to connect as root instead. More info: https://aka.ms/dev-containers-non-root.
	// "remoteUser": "root"
}
Over time, we’ll come back to this file to add additional features to our dev container. For now, we’ll just leave it as-is.
Dependabot
You may also see a second file, .github/dependabot.yml that is also created. This file is used by the GitHub Dependabot to keep your dev container configuration up to date. You may get occasional notices from GitHub in the future if there are any updates to software included in your dev container configuration.
At this point, we are ready to rebuilt our GitHub Codespace to use our new dev container configuration. To do this, open the Command Palette once again and look for the Codespaces: Rebuild Container option. Click that option, then select the Full Rebuild option in the popup window since we have completely changed our dev container configuration.
Now, we can sit back and be patient while GitHub Codespaces rebuilds our environment using the new configuration. This may take several minutes.
Once it is complete, we can confirm that Node.js is installed and running the correct version by running the following command and checking the output matches our expected version of Node.js:
$ node --version
v22.12.0
If that works, then our dev container environment in GitHub Codespaces should be set up and ready to go!
Now is a good time to commit our current work to git and push it to GitHub. Even though we are working in a GitHub Codespace, we still have to commit and push our work to get it saved. You can do this using the Source Control sidebar tab on the page, or using the classic terminal commands as shown below.
$ git add .
$ git commit -m "Dev Container"
$ git push -u origin main
For the rest of this exercise, we’ll assume that you are comfortable with git and GitHub and can take care of committing and pushing your work yourself, but we’ll give you several hints showing when we hit a good opportunity to save your work.