Vue Starter
Vue Starter
Now that we’ve built a solid backend for our application through our RESTful API, we can now start on building the frontend application that our users will actually interface with. There are many techniques and tools for writing frontend applications that we’ve covered in this course, but for this project we’re going to introduce once more, called Vue. Vue is very similar to React, but uses a more streamlined syntax and structure. It also includes a lot of built-in features that make writing an interactive web application a very seamless experience. As with any tool we’ve introduced in this set of tutorials, it is always a good idea to review the Vue Documentation as we add features to our application.
To get started, we’ll use the create-vue application to help scaffold our project. This is very similar to the express-generator tool we used to create the initial version of our backend application.
So, in the base of our project directory (not in the server folder, but in the folder that contains the server folder), we’ll run the following command:
$ npm create vue@latestWhen we run this command, it will first install the package if it isn’t already installed, and then we’ll be asked a series of questions about what type of project we want to create. As of the writing of this tutorial, here are the current questions and the answers we’ll give:
- Project name:
client(this will place our code in theclientdirectory; we’ll update our project name later) - Features to include: Router, Pinia, Vitest, ESLint, Prettier (use arrow keys to navigate and spacebar to select each item, then press enter to confirm the selections)
- Install Oxlint for faster linting: No
All told, we should end up with output that looks like this:
┌  Vue.js - The Progressive JavaScript Framework
│
◇  Project name (target directory):
│  client
│
◇  Select features to include in your project: (↑/↓ to navigate, space to select, a to toggle all, enter to confirm)
│  Router (SPA development), Pinia (state management), Vitest (unit testing), ESLint (error prevention), Prettier (code formatting)
│
◇  Install Oxlint for faster linting? (experimental)
│  No

Scaffolding project in /workspaces/lost-communities-solution/client...
│
└  Done. Now run:

   cd client
   npm install
   npm run format
   npm run dev

| Optional: Initialize Git in your project directory with:

   git init && git add -A && git commit -m "initial commit"
So, once we’ve created our project, we can follow the last few steps to install the libraries needed for our project and then run it. First, we’ll navigate to the client directory:
$ cd clientThen, we’ll install our libraries, run the code formatter, and then start our application in development mode:
$ npm install
$ npm run format
$ npm run dev
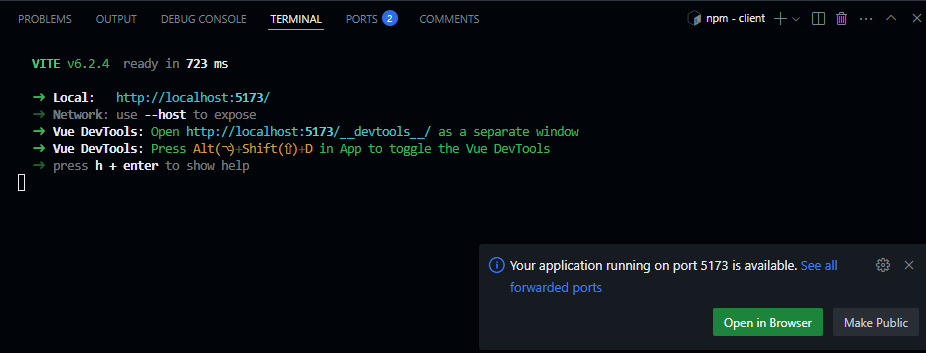
If everything works correctly, we should see our application start on port 5173 (the default port used by Vite, which is the tool used to run our Vue application in development mode). We can click the “Open in Browser” button that appears at the bottom of the page to load our application:
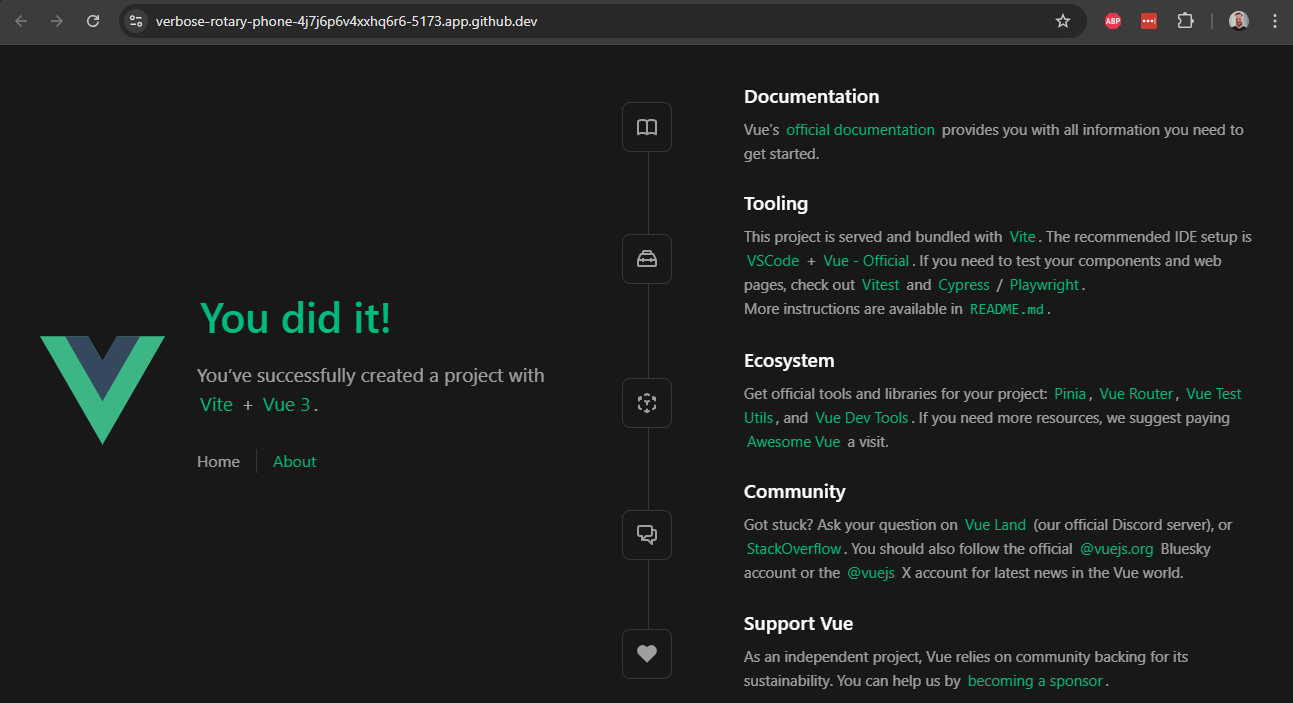
When we click that button to load our sample application, we should see the default Vue starter page appear in our browser:
There we go! That’s the basic steps to install Vue and create a scaffolded application. Let’s take a look at some of the files it created and what they do.
As always, we can stop our running application using CTRL + C.
Exploring the Vue Application
Our Vue application includes a lot of files and folders by default. Here’s a brief list of what we find:
.vscode- this folder contains settings specific to the VS Code IDE. However, since they are in a subfolder of our project, they aren’t actively being used. If we want to make use of these settings, we can move the folder up to the top level. We won’t do that for this project, but it is an option worth exploring to see what settings are recommended by the developers behind the Vue project.public- this folder contains all public resources for our application, such as images. Right now it just contains a defaultfavicon.icofile.src- all of the code for our application is contained in this folder. We’ll explore this folder in depth throughout this tutorial..editorconfig- this contains some editor settings that can be recognized by various text editors and IDEs. To use this in VS Code, we can install the EditorConfig for VS Code extension. Again, we won’t do that for this project, but it is an option to explore..gitattributesandgitignore- these are settings files used by Git. We should already be familiar with the functionality provided by a.gitignorefile!.prettierrc.json- this is the settings file for the Prettier code formatter. It includes some useful default settings for that tool.eslint.config.js- this is the settings file for the ESLint tool. Similar to Prettier, it includes some default settings.index.html- this is the actual index page for our final application. In general, we won’t need to make many changes to it unless we need to change some of the headers on that page.jsconfig.json- this file contains the settings used by the JavaScript language service used to build the project through Vite (we’ll look at this a bit later)package.jsonandpackage-lock.json- these are the familiar Node package files we’ve already seen in our backend application.vite.config.js- this is the configuration file for the Vite tool, which we use to run our application in development mode, and also the tool we’ll use to build the deployable version of our application.vitest.config.js- this is the configuration file for the Vitest testing framework, which we’ll cover a bit later as we develop our application.
Customizing the Project
Before we move ahead, let’s update the contents of our package.json file to match the project we’re working on. We should at least set the name and version entries to the correct values, and also take a look at the various scripts available in our application:
{
  "name": "example-project-frontend",
  "version": "0.0.1",
  "private": true,
  "type": "module",
  "scripts": {
    "dev": "vite",
    "build": "vite build",
    "preview": "vite preview",
    "test:unit": "vitest",
    "lint": "eslint . --fix",
    "format": "prettier --write src/"
  },
  // -=-=- other code omitted here -=-=-
}
On the next page, we’ll start building our frontend application! As we add features, we’ll slowly modify some of these configuration files to make our application easier to develop and work with.

