GitHub Actions
GitHub Actions
The last step in configuring our application for deployment is to create a GitHub Action that will automatically build our Docker container when we commit a release tag to GitHub. This process will ensure that our image is always up to date and available for users to download and use.
Learning how to build a GitHub Action script could be an entire course unto itself. For this project, we’ll run through the basic steps used to test and build our application’s Docker image, but there are many more steps that could be added. For example, we could have GitHub automatically run our test scripts before building the image, preventing any broken images if the tests aren’t passing. We can also add options to automatically deploy our image to our hosting service whenever it is updated. We can even have it send us a message on our messaging platform of choice when it is done building. Feel free to read up on all of the different actions available in the GitHub Actions Marketplace.
Build Docker Action
To create this GitHub action, we’ll place a file named build_docker.yml in the .github/workflows directory at the very top level of our project.
We’ll start with a name for the workflow, as well as a list of triggers that will start the workflow when a particular action is taken on our GitHub repository:
# Workflow name
name: Build Docker

# Run only on new tags being pushed
# https://docs.github.com/en/actions/using-workflows/triggering-a-workflow
on:
  push:
    tags:
      - 'v*.*.*'
Next, we’ll define the jobs to be executed as part of this GitHub Action. In this case, we’ll only have a single job, build, which will build our Docker image. For that job, we’ll use GitHub’s Ubuntu Job Runner, but there are many different options available for us.
# Workflow name
name: Build Docker

# Run only on new tags being pushed
# https://docs.github.com/en/actions/using-workflows/triggering-a-workflow
on:
  push:
    tags:
      - 'v*.*.*'

# Define a single job named build
jobs:
  build:
    # Run job on Ubuntu runner
    runs-on: ubuntu-latest
Following that, we’ll list the steps required to complete the job. Each step is documented with a link to the documentation for that step.
# Workflow name
name: Build Docker

# Run only on new tags being pushed
# https://docs.github.com/en/actions/using-workflows/triggering-a-workflow
on:
  push:
    tags:
      - 'v*.*.*'

# Define a single job named build
jobs:
  build:
    # Run job on Ubuntu runner
    runs-on: ubuntu-latest

    # Job Steps
    steps:
      # Step 1 - Checkout the Repository
      # https://github.com/actions/checkout
      - name: 1 - Checkout Repository
        uses: actions/checkout@v4

      # Step 2 - Log In to GitHub Container Registry
      # https://github.com/docker/login-action
      - name: 2 - Login to GitHub Container Registry
        uses: docker/login-action@v3
        with:
          registry: ghcr.io
          username: ${{ github.repository_owner }}
          password: ${{ secrets.GITHUB_TOKEN }}

      # Step 3 - Build and Push Docker Image
      # https://github.com/docker/build-push-action
      - name: 3 - Build and Push Docker Image
        uses: docker/build-push-action@v6
        with:
          context: .
          push: true
          tags: |
            ghcr.io/${{ github.repository }}:${{ github.ref_name }}
            ghcr.io/${{ github.repository }}:latest

      # Step 4 - Make Release on GitHub
      # https://github.com/softprops/action-gh-release
      - name: 4 - Release
        uses: softprops/action-gh-release@v2
        with:
          generate_release_notes: true
As we can see, the basic steps are as follows:
- Checkout the current GitHub repository code
- Connect to the GitHub Container Registry to store the image
- Build and Push the Docker Image to the GitHub Container Registry
- Create a Release on GitHub with the version information
Handling Uppercase Repository Names
GitHub is case-preserving, and allows repository names and usernames to include uppercase letters. However, Docker tags must be lowercase, so any repository names with uppercase letters will cause issues with this process.
To solve this, we can add a new step to convert our repository name to lowercase:
      # Step 3a - Get Lowercase Repository Name
      # See https://github.com/orgs/community/discussions/27086
      - name: 3a - Get Lowercase Repository Name
        run: |
          echo "REPO_LOWER=${GITHUB_REPOSITORY,,}" >> ${GITHUB_ENV}

      # Step 3b - Build and Push Docker Image
      # https://github.com/docker/build-push-action
      - name: 3b - Build and Push Docker Image
        uses: docker/build-push-action@v6
        with:
          context: .
          push: true
          tags: |
            ghcr.io/${{ env.REPO_LOWER }}:${{ github.ref_name }}
            ghcr.io/${{ env.REPO_LOWER }}:latest
Alternatively, much of this is also handled by the Docker Metadata Action, which can be used to automatically configure tags and labels attached to a Docker container built by a GitHub action. For larger-scale projects, adding the Docker Metadata Action to this process is a helpful step.
Triggering a Release
Before we can trigger this workflow, we should commit and push it to GitHub along with our Dockerfile from the previous page.
Once we have done that, we can create a new Semantic Versioning, or SemVer, style release tag and push it to GitHub:
$ git tag v0.0.1
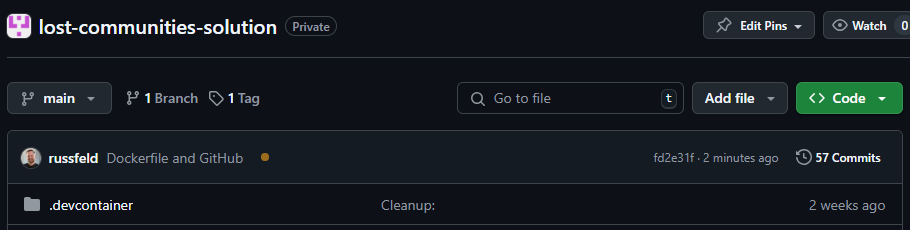
$ git push --tagsWhen we do so, we can go back to our GitHub repository and check for a small yellow circle to appear at the top of our code, which shows that the GitHub Action is executing
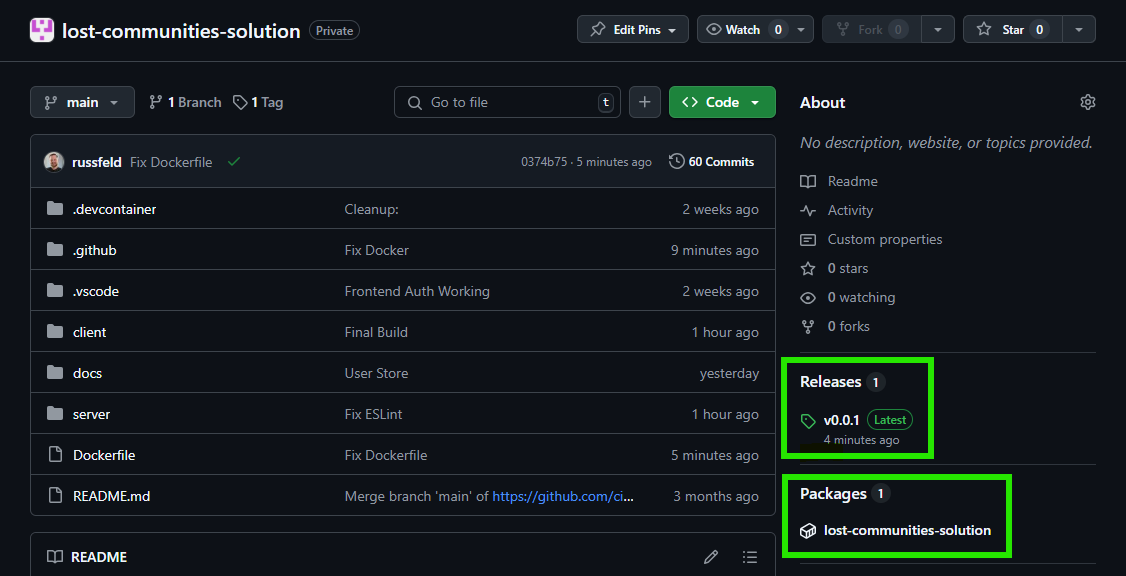
After a minute or so, we can refresh the page to see a green checkmark in its place, as well as additional information on the right side of the page showing the release version and a link to the newly built Docker container stored in the GitHub Container Registry.
If we click on that link, we can find information about how to actually pull and use that Docker container in our deployment environment:
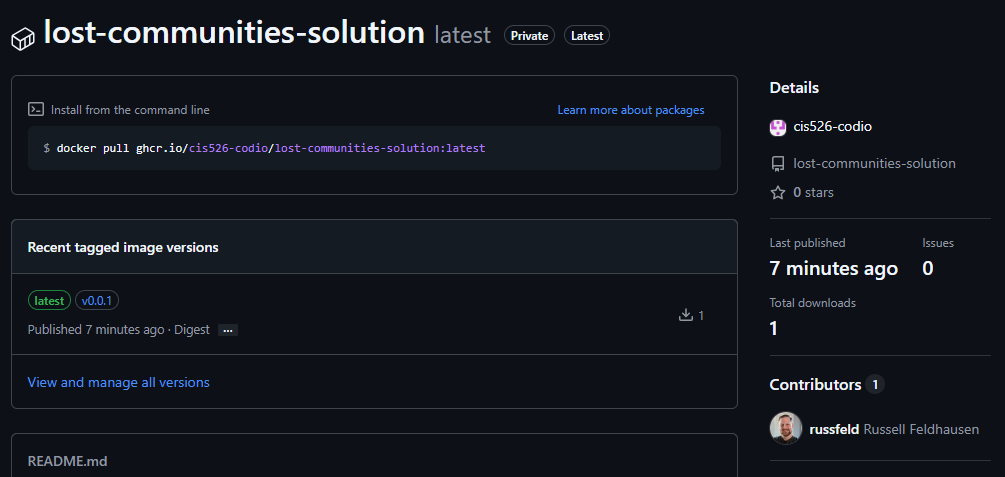
There we go! We now have a working Docker container for our application.