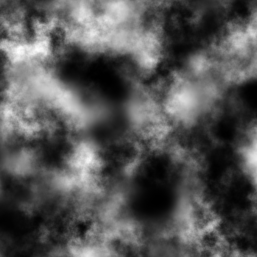
Heightmaps
You might be wondering just what a heightmap is. If you’ve ever used a topographic map, you’ve seen a similar idea. Contour maps include contour lines_, lines that trace when the ground reaches a certain altitude. Inside the line is higher than that altitude, and outside of the line is lower (or visa-versa). The contours themselves are typically marked with the altitude they represent.
A heightmap is similar, but instead of using lines, each pixel in the map represents a square section of land, and the color value at that point indicates the average altitude of that square. Since there is only one value to represent, heightmaps are typically created in grayscale. And, to optimize space, they may also be saved in a monochrome format (where each pixel is stored as a single 8-bit value, instead of the 32-bits typical for storing RGB values).
You can obtain heightmaps in a number of ways. You can draw a heightmap with any raster graphics program, though it takes a lot of skill and patience to make one that mimics natural terrain. You can also get real-world heightmaps directly from organizations like the USGS or NASA’s Viewfinder Project. Or you can generate one using Perlin Noise and algorithms that mimic the results of plate tectonics. There also exist many height-map generation programs, both open-source and commercial.
Along with the height map, you also need to know the sampling resolution (how large each terrain square should be), and the scale that should be applied to the heights (as the pixel values of the heightmap will be in values between 0 and 255).
Now, let’s turn our attention to creating a Terrain class that will use a heightmap.
