Creating UML Diagrams
There are many tools available to help you develop your own UML diagrams. Here are a few that we recommend using for this course.
Diagrams.net
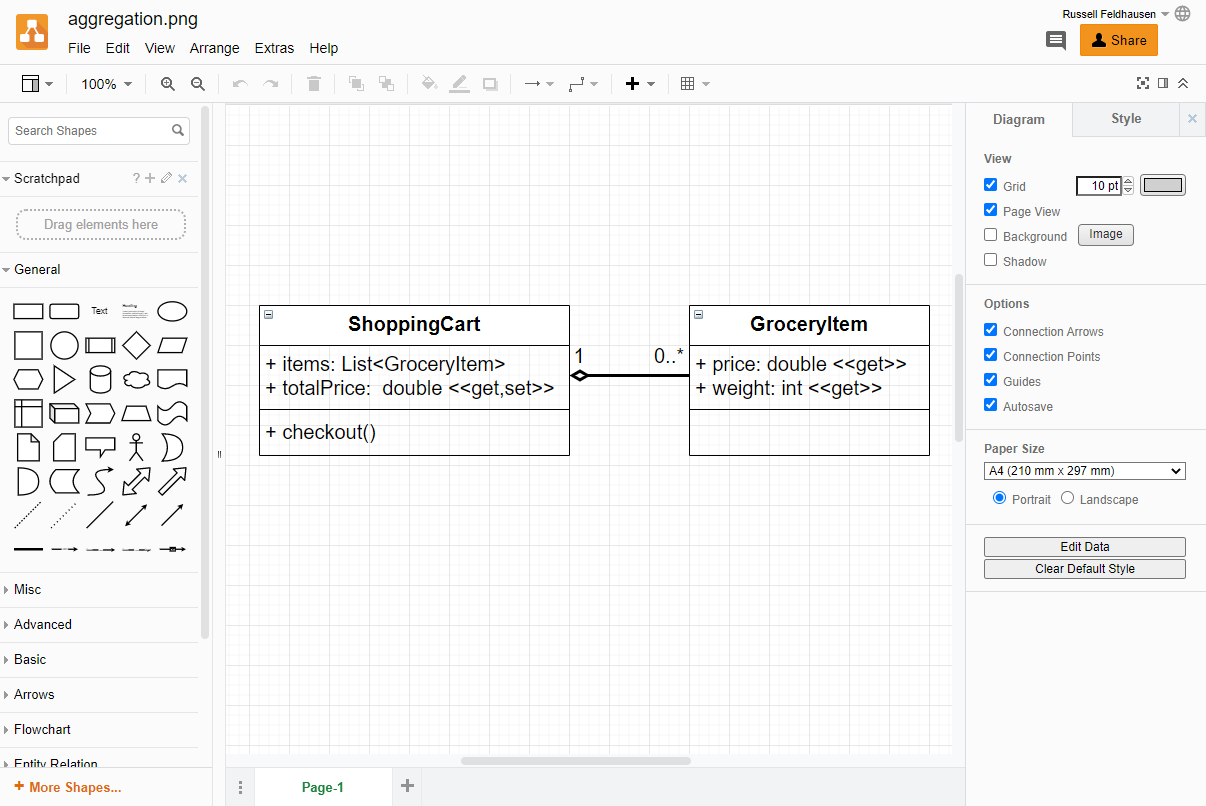
Most of the graphics used in the Computational Core program, including the UML diagrams in this and previous courses, are made using the free Diagrams.net tool.
When creating a new diagram, you can select the UML Diagram template to get started. The interface is really simple and easy to use, with lots of drag-and-drop components you can add to your diagram.
To create multiplicities, you can simply add text boxes to your arrows.
To export a diagram, click the File menu and choose the Export To option. You can create both PNG and SVG files!
Diagrams in Image Files
One great feature of Diagrams.net is the ability to embed the diagram data directly into an image file exported from the application. In that way, we only have to have access to the image in order to open the diagram and update the image.
Try it yourself! Right-click on a UML diagram in this book to download it as an image, and then open the image using the upload option in Diagrams.net. You should be able to edit the diagram!
Visio
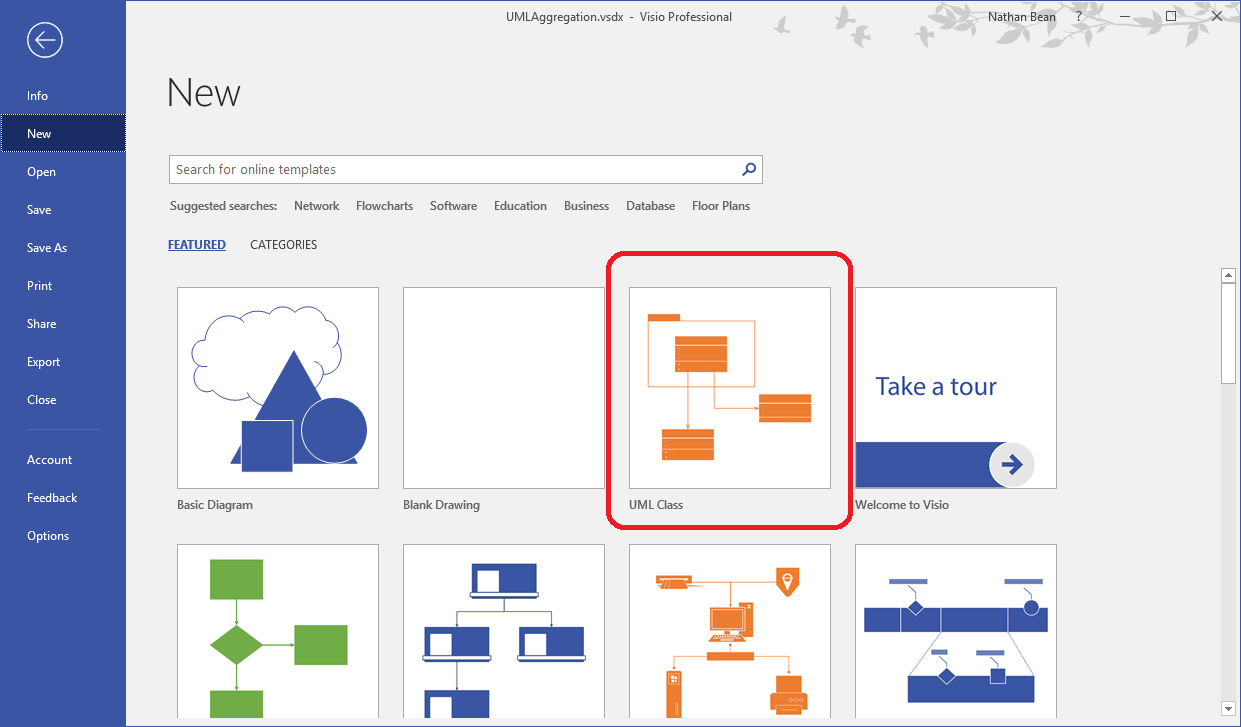
Another tool we can use to create UML diagrams is Microsoft Visio. For Kansas State University Computer Science students, this can be downloaded through your Azure Student Portal.
Visio is a vector graphics editor for creating flowcharts and diagrams. it comes preloaded with a UML class diagram template, which can be selected when creating a new file:
Class diagrams are built by dragging shapes from the shape toolbox onto the drawing surface. Notice that the shapes include classes, interfaces, enumerations, and all the associations we have discussed. Once in the drawing surface, these can be resized and edited.
Right-clicking on an association will open a context menu, allowing you to turn on multiplicities. These can be edited by double-clicking on them. Unneeded multiplicities can be deleted.
To export a Visio project in PDF or other form, choose the “Export” option from the file menu.