GitHub Classroom Setup
One major new concept in this project is to save the source code of our project on the code sharing website GitHub using a tool called Git. We’ll be using a feature of GitHub called GitHub Classroom to manage several assignments in this course, so let’s explore what it takes to get connected to GitHub Classroom and download this project.
Accept the Assignment on GitHub Classroom
The first step is to accept the assignment on GitHub classroom. You can do this by finding the invitation link in the assignment’s description on Canvas. For many assignments in this course you’ll find two different items in Canvas - one that links to Codio, such as the assignment that led you here, and another that contains a GitHub Classroom link to accept the assignment via GitHub classroom.
First, before you do anything else, you’ll need to create an account on GitHub if you don’t have one already. Once you’ve created your account and successfully confirmed your email address, you can move on to the next step.
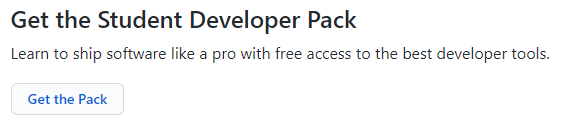
GitHub Student Developer Pack
Once you’ve created your GitHub account, you can also get access to the GitHub Student Developer Pack, which gives you access to a ton of cool tools and free content for developers. We highly recommend checking it out!
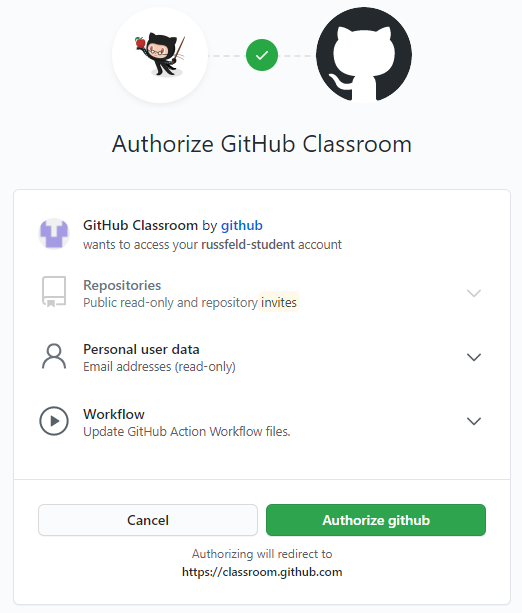
Next, click the invitation link in Canvas to accept the assignment in GitHub classroom. The first time you do this, you’ll be asked to authorize GitHub Classroom on your GitHub account. You should see a page that looks like this:
Next, you’ll be asked to accept the invitation itself. Once you do that, GitHub will create a repository for you to store your code, which may take a few minutes. You can refresh the page to see the progress. Once it is done, you’ll see a page like this:
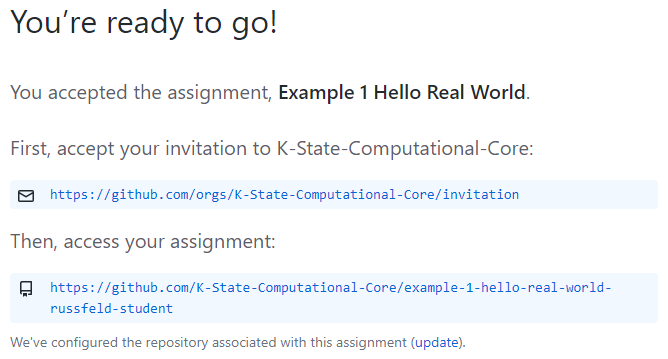
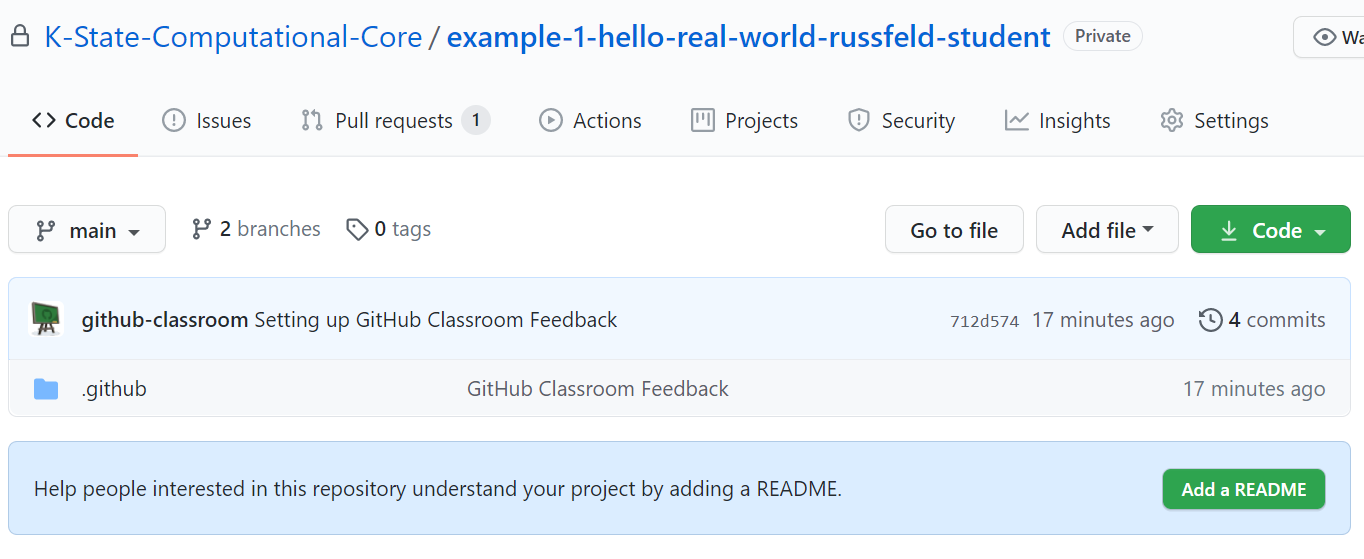
However, before you can access the assignment, you may need to accept an invite that is sent to your email address that is registered with GitHub. However, once you’ve done that, you should be able to access your repository! The page should look like this:
You’ll need to perform this process for each GitHub Classroom assignment in this course, but after the first time it should be as easy as clicking the link in Canvas and setting up a new repository.
Add your SSH Key to GitHub
Before we can upload code from Codio to GitHub, we must add your Codio Account’s SSH key to GitHub. This will allow GitHub to identify your account within Codio, and you won’t have to enter your username and password each time you want to send code to GitHub. Thankfully, Codio includes a way to easily link your Codio account to GitHub and make this process quick and easy. You only have to do this one time to link these two accounts, so let’s do it now.
First, you’ll need get to your Codio Account Settings. You can do so by either choosing the Dashboard option from the Codio menu at the top of any Codio project, and then clicking your username in the bottom left corner of the screen. Alternatively, you can just navigate to https://codio.com/home/settings while logged in to your Codio account.
Once there, click on the Applications tab at the top. That should bring you to a page that looks like this:
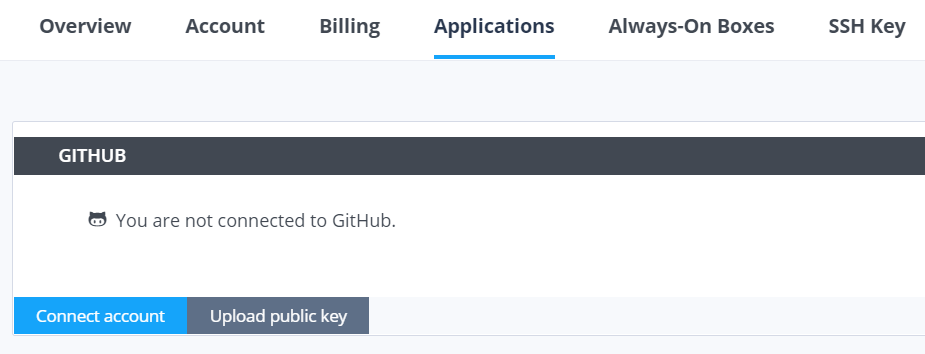
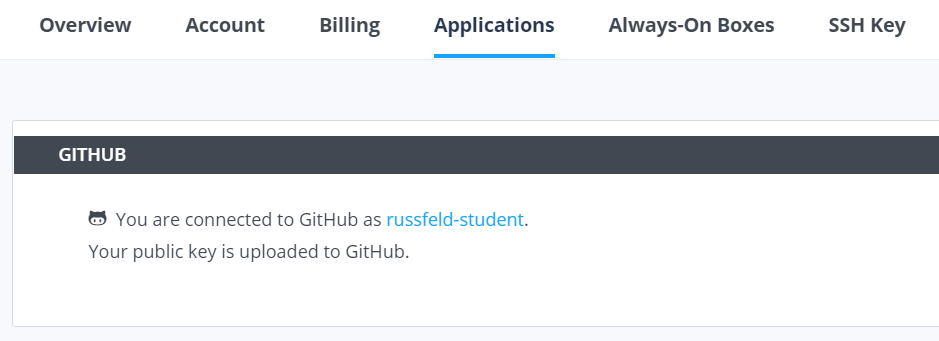
Click the Connect Account button to connect your Codio account with GitHub, and then click the button to authorize Codio on the next page. Once that is done, you should be brought back to Codio, where you can click the Upload Public Key button to add your SSH key to GitHub. Once again, you’ll need to click the button to authorize Codio on GitHub. Once you get back to Codio, you should see a message stating that your public key is uploaded to GitHub.
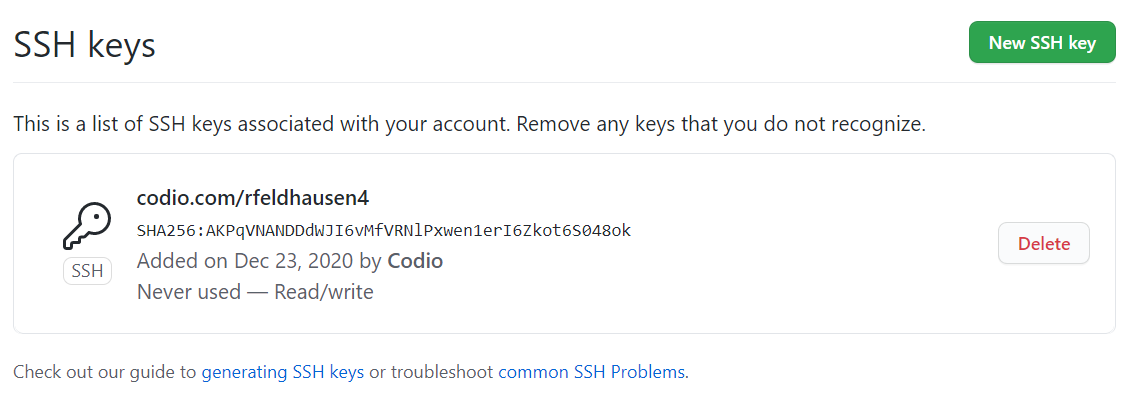
There you go! You can confirm that it works by going to your GitHub account settings, finding the SSH and GPG keys section, or by navigating to https://github.com/settings/keys. Once there, you should see an SSH key added by Codio, which would look something like this:
Manually Adding SSH Keys to GitHub
If you prefer to do this manually, here are the steps:
- In Codio, go to your Account Settings and select the SSH Key tab: https://codio.com/home/settings?tab=ssh-key
- Copy the entire Codio SSH key found there. It should begin with
ssh-rsa. - In GitHub, navigate to the Account Settings and find the SSH and GPG Keys section: https://github.com/settings/keys
- On that page, click the New SSH Key button, and paste the SSH key from Codio. You must also give it a helpful title.
- Click Add SSH Key to save the key. It should now appear on the page in GitHub.
Now our GitHub and Codio accounts should be linked, allowing us to easily download and upload code through GitHub Classroom using Codio.