Install Gradle
tl;dr
If you are reviewing this material or are familiar with these concepts, here’s the short version:
# Install tools on Ubuntu if doing this at home
sudo apt update && sudo apt install zip unzip curl sed
# Verify Java SDK version 8 or higher
java -version
# Install SDKMAN!
curl -s "https://get.sdkman.io" | bash
# Install Gradle
sdk install gradle 7.6
Working with Java on the Linux terminal can be complicated, especially as projects become larger and larger. Thankfully, there are many tools that have been developed to simplify this process. For this course, we’re going to use one such tool, called Gradle.
Gradle
Gradle is a multi-platform build tool that helps automate development and deployment of applications written in a variety of languages. It also includes a very robust set of plugins that allow developers to perform many different tasks, directly through the Gradle command interface.
In the Java ecosystem, similar tools include Ant and Maven. In addition, many desktop IDEs such as IntelliJ IDEA, Eclipse and NetBeans automatically perform many of the same functions as Gradle.
The main reason we’ve chosen to use Gradle in this course is the ease with which it can be used, and the fact that it is available on pretty much any modern platform.
Installing Gradle
First, let’s install Gradle following the instructions found in the Gradle User Guide. As a developer, you’ll want to get familiar with reading the documentation for various tools you use, and Gradle is no exception.
On that page, the first step is to confirm that we have a version of Java installed. So, we’ll need to open a terminal and run the following command:
java -versionAll of these commands can be executed from any directory, but we recommend using the default location of ~/workspace. We should see output similar to the following:

In this image, we see that we already have Java 8 installed, specifically version 1.8.0_275. This is included in our standard Codio stack, so we won’t have to worry about installing Java. Therefore, we meet the minimum installation requirement.
Installing SDKMAN!
Next, we’ll need to install the SDKMAN! tool, which is the recommended way to install Gradle on Linux systems such as Codio. To install SDKMAN!, we’ll just follow the installation instructions found online, which calls for us to run the following command:
curl -s "https://get.sdkman.io" | bashWhen we do that, we’ll get output that looks like this:
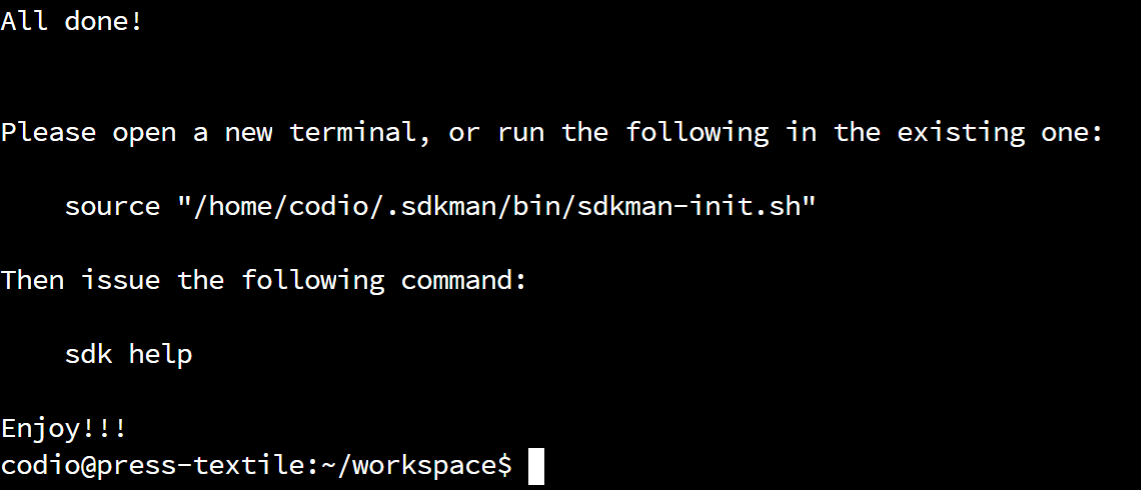
If it was successful, we’ll have to close and reopen the terminal in order to use it.
Three Quick Comments
Here are three quick comments to explain a bit more about what we just did that may be helpful in the future.
Linux Command Prefixes
One point of confusion for many new developers is the inconsistent way Linux terminal commands are denoted in the documentation of various tools. For example, in the Gradle documentation, Linux terminal commands are prefixed by a greater-than symbol >:

In the SDKMAN! installation instructions, you’ll notice that the installation command includes a dollar sign $ in front of it, as seen below:

However, when we executed those commands, we didn’t include the greater-than symbol or dollar sign. Why is that? Many places that include documentation for the Linux terminal helpfully include either the last symbol of the command prompt before the command, or some other symbol like an arrow, indicating that this is a command to be entered in the terminal. Linux typically uses two different types of command prompts:
- Dollar sign
$- indicating that the terminal is logged in to a normal user account - Pound sign
#- indicating that the terminal is logged in with administrator permissions (root)
Documentation also often uses the > symbol in front of commands to be entered by the user. So, in general, when you see a Linux terminal command in documentation that starts with a >, $ or #, you should omit that character when executing the command. This can be very confusing and frustrating to get used to, especially since it is not standardized. As we’ll learn later in this course, standardized documentation is a very important part of being a good programmer!
Linux Terminal Security
The command we executed to install SDKMAN!, curl -s "https://get.sdkman.io" | bash is a somewhat dangerous command to execute, unless you trust the source. In effect, the curl -s command will silently load the webpage at the URL given without presenting any error messages. Then the | bash part tells the command to execute that webpage as if it were a Linux terminal script. This can be especially dangerous if you are logged in with administrator permissions or run the command prefixed with sudo. If the webpage contained a malicious script, your system could easily be compromised.
We point this out simply to encourage you to be wary about any commands you execute in a Linux terminal without fully understanding them. In this case, we’re reasonably confident that the SDKMAN! installation script is safe, we aren’t running it as an administrator, and Codio provides a safe environment to try things without installing them locally.
When in doubt, it is perfectly OK to reach out to the instructors of this course or another, more experienced developer to get help reviewing whether a particular command is safe to execute.
Installing SDKMAN! At Home
A bit later in this course, we’ll discuss how to do this on your own computer at home. If you are installing SDKMAN! on a Linux system, you’ll need to make sure the following tools are installed:
zipandunzipcurlsed
Most of these tools can be easily installed on any Linux system. For example, on Ubuntu you can use the following command to ensure those tools are installed:
sudo apt update && sudo apt install zip unzip curl sedInstalling Gradle using SDKMAN!
Once SDKMAN! is installed, we can use it to install Gradle using this command:
sdk install gradle 7.6After that command executes, you should get a message similar to the following:
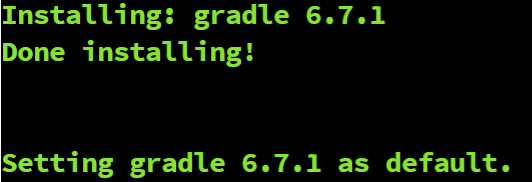
If you receive that message, then Gradle has been successfully installed. You can test this by running the following command:
gradle -versionYou should get a message from Gradle telling you what version is installed. If that works, you can move on to the next page.
Having Issues?
If you are having trouble getting Gradle installed, reach out to the course instructors for assistance.