Unit Tests
At this point, we’ve written the basic code for our “Hello World” program. However, how can we automatically verify that the source code works properly? To do that, we’ll need to create some unit tests that verify our code.
Unit Tests
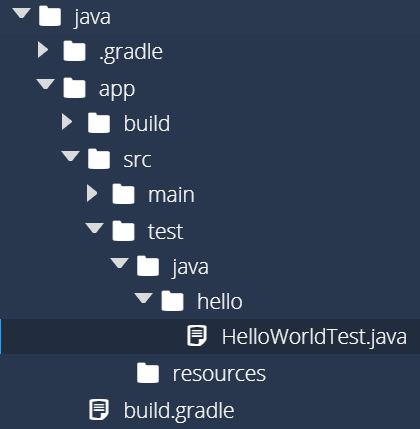
In our Java application, the unit tests are stored in the app/src/test/java directory. In that directory, there is a directory for hello that represents a package, just like the hello directory in the app/src/main/java where our program code lives. It is typically good practice to have packages in our unit tests that match the packages in our source code, so we’ll leave it as is.
However, just like we renamed App.java to HelloWorld.java, let’s do the same with the AppTest.java file, found in app/src/test/java/hello. After you rename it, it should look like this:
Thankfully, we don’t have to do anything else after renaming this file, because, as we’ll see shortly, Gradle is able to automatically find all of the unit test classes that exist in the app/src/test directory.
Update JUnit to Version 5
Older versions of Gradle will default to JUnit 4 instead of JUnit 5, also known as JUnit Jupiter. If your project is set up this way, you’ll need to upgrade.
To do this, we need to edit a few lines in the build.gradle file, which can be found in the app directory. The instructions for this process can be found in the JUnit 5 User Guide
First, look for the following dependencies section:
dependencies {
    // Use JUnit test framework.
    testImplementation 'junit:junit:4.13'

    // This dependency is used by the application.
    implementation 'com.google.guava:guava:29.0-jre'
}
As we can see, it uses version 4.13 of JUnit. Let’s update to JUnit 5, and also configure Gradle to use the JUnit Jupiter test engine. Replace that dependencies section with this one:
dependencies {
    // Use JUnit Jupiter for testing.
    testImplementation 'org.junit.jupiter:junit-jupiter:5.9.1'

    // This dependency is used by the application.
    implementation 'com.google.guava:guava:31.1-jre'
}
Lastly, we need to configure Gradle to use the JUnit platform for testing. So, at the bottom of our build.gradle file, we’ll add the following section, outside of any other sections:
tasks.named('test') {
    // Use junit platform for unit tests.
    useJUnitPlatform()
}
There we go! Now Gradle is configured to use JUnit 5 properly!
Write Code in HelloWorldTest.java
Let’s put some code in the HelloWorldTest.java file to test our “Hello World” application. Here’s a sample of what a unit test for this might look like:
package hello;

import static org.junit.jupiter.api.Assertions.assertEquals;

import java.io.ByteArrayOutputStream;
import java.io.PrintStream;
import org.junit.jupiter.api.Test;

public class HelloWorldTest {

    @Test
    public void testHelloWorldMain() {
        HelloWorld hw = new HelloWorld();
        final PrintStream systemOut = System.out;
        ByteArrayOutputStream testOut = new ByteArrayOutputStream();
        System.setOut(new PrintStream(testOut));
        hw.main(new String[]{});
        System.setOut(systemOut);
        assertEquals("Hello World\n", testOut.toString(), "Unexpected Output");
    }
}
We can break this code down line by line to discuss what it does and how it works. Let’s look at the package and import statements first:
package hello- as we saw before, this line is used to show that this class is part of a package calledhello.import static org.junit.jupiter.api.Assertions.assertEquals- this imports one of the tests that we need from theorg.junit.jupiterlibrary, the latest version of JUnit. You can find more information about JUnit by reading the JUnit 5 User Guide.import java.io.ByteArrayOutputStream- this is a library used to store data in an array of bytes.import java.io.PrintStream- similarly, this library is used to easily “print” data into another output stream.import org.junit.jupiter.api.Test- this is another class from JUnit that allows us to mark methods as unit tests.
Now, let’s look at the testHelloWorldMain() method itself. Here are the first few lines that we’ll need to understand:
@Test- this is an example of an annotation in Java, which allows us to add additional information to a method. In this case, it tells JUnit that this method is a unit test method.testHelloWorldMain()- typically, the method name of a unit test is very descriptive. If possible, try to describe the exact nature of the test in the method name, since the failed unit tests are reported by the name of the method.HelloWorld hw = new HelloWorld()- to begin our test, we instantiate a copy of ourHelloWorldclass so we can test it. One major theory behind unit tests is that each test should be run in isolation from other tests. So, instead of having a globalHelloWorldobject that each test can use, we should write each test to create brand new objects. Later on in this course, we’ll see how we can simplify this and avoid code reuse.
Next, we have three lines of code that are closely related:
final PrintStream systemOut = System.out;
ByteArrayOutputStream testOut = new ByteArrayOutputStream();
System.setOut(new PrintStream(testOut));
These three lines are used to redirect the output of the HelloWorld application we are testing to a different location. Recall that we use System.out.println to print text to the terminal, so these lines are used to store the existing value of System.out and then replace it with our own stream that we can use.
After that, we have the line hw.main(new String[]{}) which calls the main method of our Hello World class. We have to provide an empty array of strings as an argument, which matches the expected command-line arguments of the program itself. So, if we need to provide command-line arguments to this method, we can place them in this array!
Lastly, we do two more things. First, the line System.setOut(systemOut) will reset the System.out stream back to what it was previously.
Then, we reach the most important line of the program: assertEquals(testOut.toString(), "Hello World\n", "Unexpected Output"). This line is called an assertion, and it is the basis of most unit tests. In this line, we are stating that the output we receive from the program, stored in testOut and accessed via the toString() method, should exactly match "Hello World\n" in order for the test to pass. If it doesn’t, then we can share a helpful error message, in this case “Unexpected Output” when the test fails.
Typically, most unit tests contain several of these assertions, and there are many different assertion methods we can use, but for right now we’ll just use the assertEquals method.
There we go! That’s all it takes to write a simple unit test. However, as you’ve probably noticed, the code for a unit test is much more complex than the code that we are testing. That’s actually pretty typical - many times it is much more difficult to write tests that ensure the code works than writing the code itself. However, the usefulness of those tests will often outweigh the cost, as it can be even more costly to constantly fix bugs and errors that would have been caught by a proper set of unit tests.
Running Unit Tests
Now that we’ve written our unit test, we can use Gradle to execute them. To do that, simply open the Linux terminal, navigate to the java folder, and then run the following command:
gradle testWhen you run this command for the first time, Gradle may take a moment to download the JUnit 5 libraries it needs. Once it is done, you’ll get the usual response that the build was successful, as shown below:

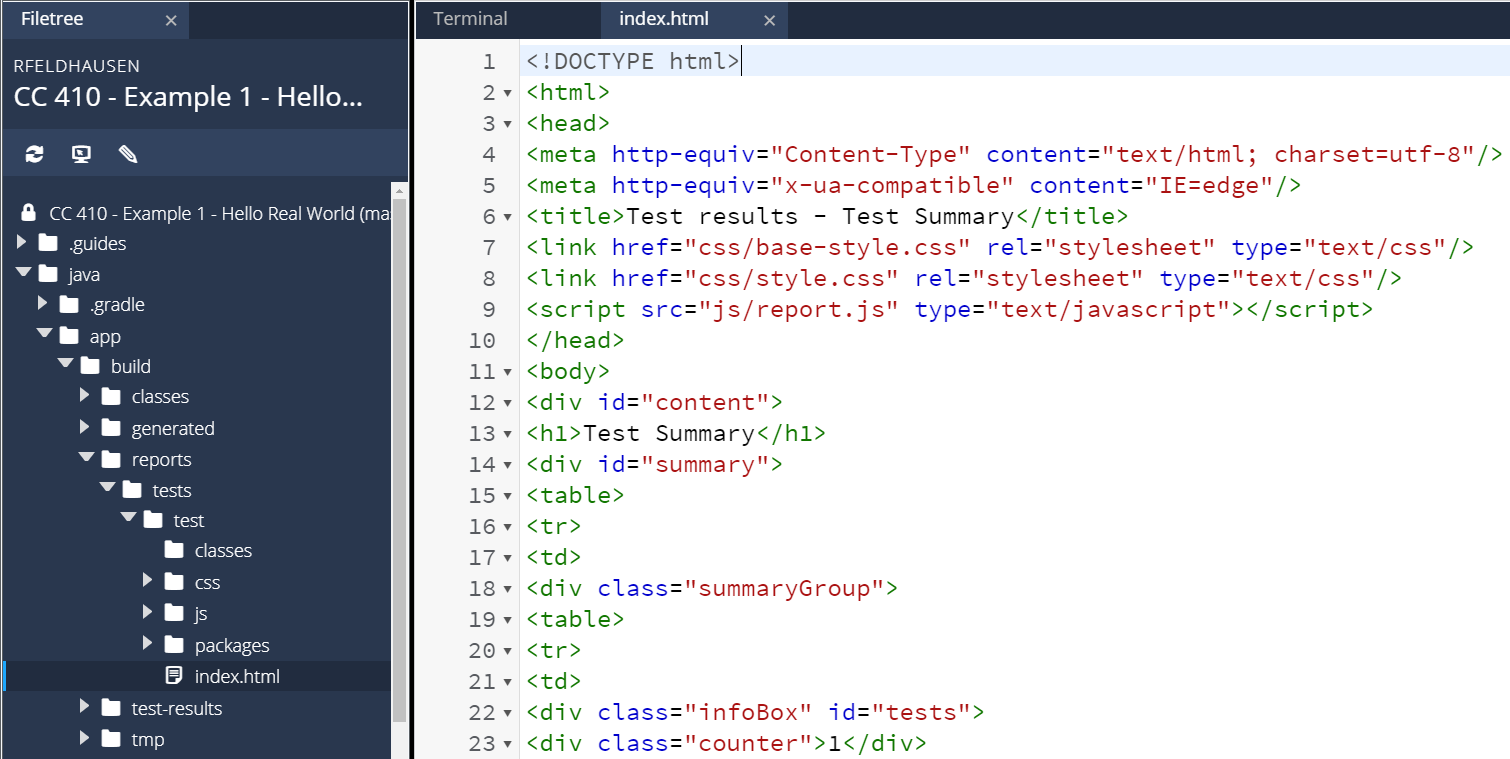
However, we might want to learn a bit more about what tests were executed and make sure it is working properly. So, we can look for the test report in the build folder. Specifically, you’ll find it at app/build/reports/tests/test/index.html. So, find that file in the Codio file tree to the left and open it. When you do, you’ll see a file full of HTML like this one:
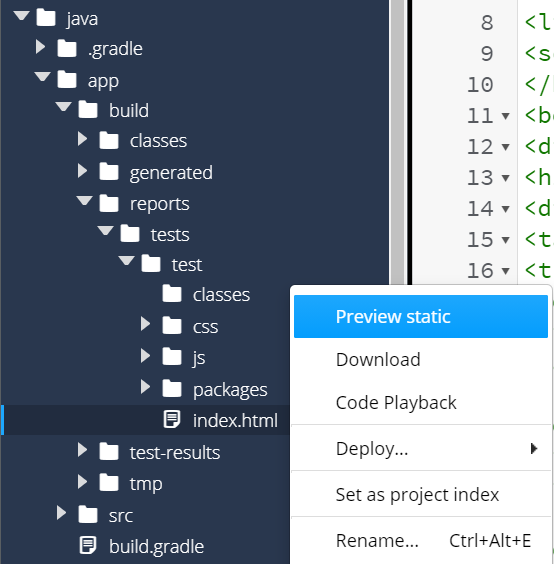
That’s really difficult to read, isn’t it? Thankfully, we can tell Codio to open that HTML file as a webpage by right-clicking on it and selecting Preview Static:
If done correctly, you should see a webpage that looks like this:
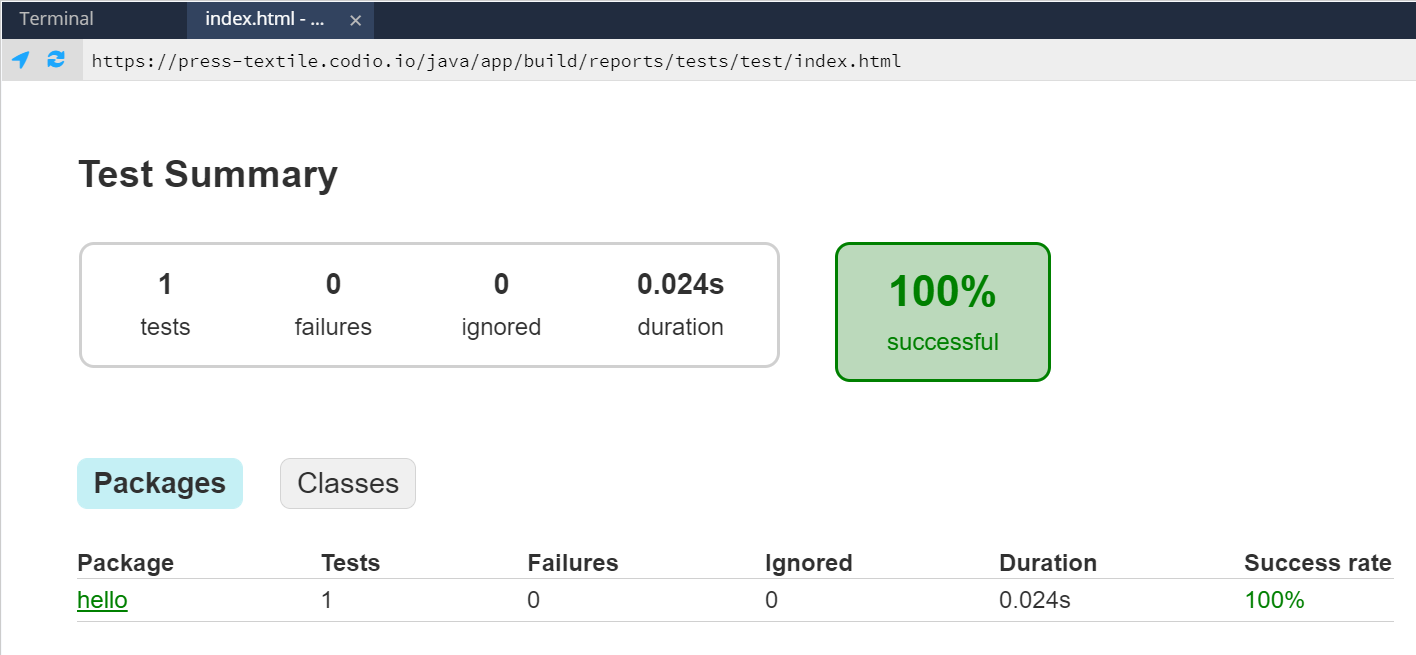
Hopefully, we should see that our code passed the test! We can click on the links on that page to dig deeper and see the results for specific tests classes or even individual tests.
Test Failures
So, let’s explore a bit. First, let’s make a change to the unit test so that the program will fail. A great way to do this is to change the assertion on the last line of the unit test. Once you’ve made that change, re-run the tests using the following command:
gradle testThis time, you’ll get some different output:
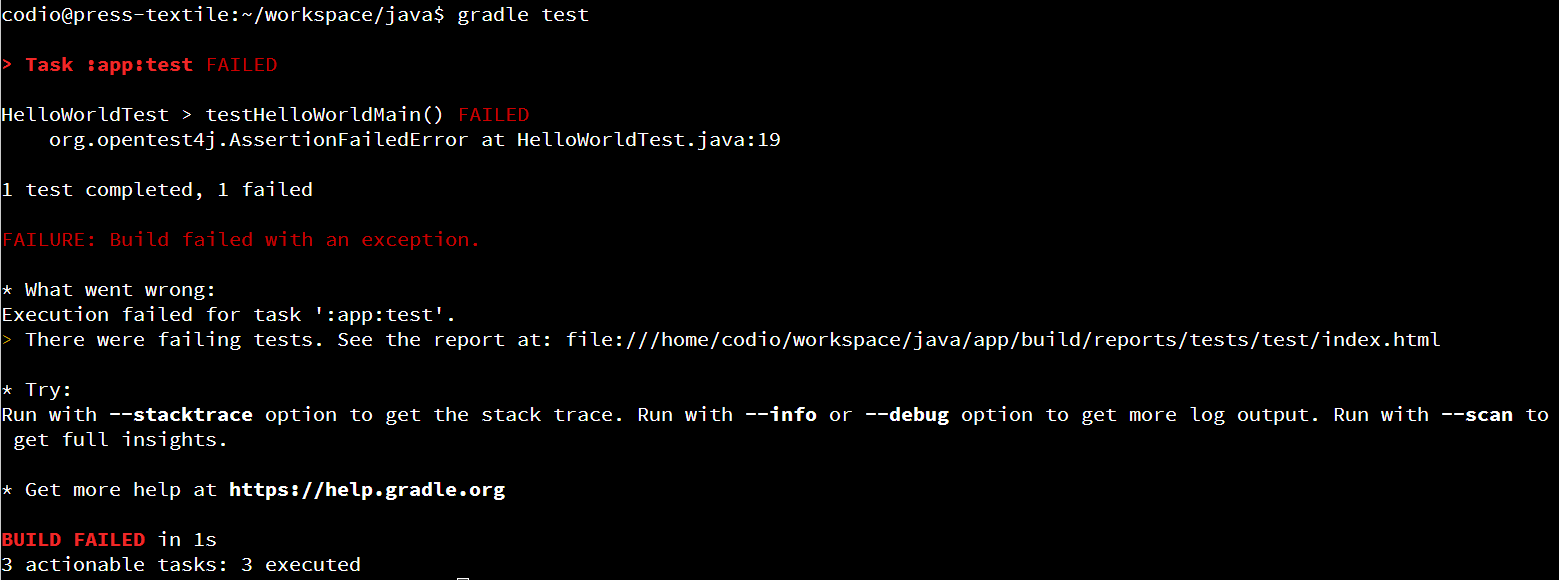
Here, we can see that JUnit will helpfully tell us the method name of each test that failed. We can now open the test report from before and dig into it to find exactly where the test failed and why. Here’s what you might see:

The most important part is at the bottom of that file - it shows the exact assertion that failed and why. Below that, you’ll see a full stack trace of what was happening when it fails. We’ve highlighted the most important parts - the assertion that failed, and the line in the stack trace that shows exactly where in the unit test it failed.
So, when a test fails, you can use that information to work backwards and figure out why it failed. Was the test incorrect? Did the source code of the application have a bug? Either of those could be a reason for a test failure. Hopefully you can use the information from the test report to find it and fix it!