Hamcrest
Let’s introduce one more useful tool as part of this example, the Hamcrest assertion library. Hamcrest is a library of unit test assertions that is available for multiple programming languages, including both Java and Python. Hamcrest makes it easy to write very advanced assertions in a way that is both readable and flexible. In fact, most of the autograders in prior CC courses use Hamcrest as the primary assertion library to make them easy to develop. Let’s explore what it takes to add Hamcrest to our project.
Installing Hamcrest in Gradle
To make Hamcrest available, we simply have to add an entry to our build.gradle file. This process is described in the Hamcrest Documentation. In that file, locate the “dependencies” section:
dependencies {
    // Use JUnit Jupiter for testing.
    testImplementation 'org.junit.jupiter:junit-jupiter:5.9.1'

    // This dependency is used by the application.
    implementation 'com.google.guava:guava:31.1-jre'
}
In the line for testImplementation, we’ll add an entry for the latest version of Hamcrest, org.hamcrest:hamcrest:2.2. When we are done, it should look like this:
dependencies {
    // Use JUnit Jupiter for testing.
    testImplementation 'org.junit.jupiter:junit-jupiter:5.9.1', 'org.hamcrest:hamcrest:2.2'

    // This dependency is used by the application.
    implementation 'com.google.guava:guava:31.1-jre'
}
That’s all there is to it! We now can use Hamcrest in our unit tests
Unit Test with Hamcrest
Now, let’s build a unit test that uses Hamcrest. So, in the app/src/test/java/hello directory, create a new file called HelloWorldHamcrestTest.java and paste the following code in that file:
package hello;

import static org.hamcrest.MatcherAssert.assertThat;
import static org.hamcrest.Matchers.is;

import java.io.ByteArrayOutputStream;
import java.io.PrintStream;
import org.junit.jupiter.api.Test;

/**
 * The HelloWorldTestHamcrest class.
 *
 * <p>This is the test class for the HelloWorld program using Hamcrest
 *
 * @author Russell Feldhausen russfeld@ksu.edu
 * @version 0.1
 */
public class HelloWorldHamcrestTest {

    /**
     * Tests the HelloWorld.main() function with no arguments.
     *
     * @see    HelloWorld#main(String[])
     */
    @Test
    public void testHelloWorldMain() {
        HelloWorld hw = new HelloWorld();
        final PrintStream systemOut = System.out;
        ByteArrayOutputStream testOut = new ByteArrayOutputStream();
        System.setOut(new PrintStream(testOut));
        hw.main(new String[]{});
        System.setOut(systemOut);
        assertThat("Unexpected Output", testOut.toString(), is("Hello World\n"));
    }

    /**
     * Tests the HelloWorld.main() function with 1 argument.
     *
     * @see    HelloWorld#main(String[])
     */
    @Test
    public void testHelloWorldMainArgument() {
        HelloWorld hw = new HelloWorld();
        final PrintStream systemOut = System.out;
        ByteArrayOutputStream testOut = new ByteArrayOutputStream();
        System.setOut(new PrintStream(testOut));
        hw.main(new String[]{"CC 410"});
        System.setOut(systemOut);
        assertThat("Unexpected Output", testOut.toString(), is("Hello CC 410\n"));
    }
}
The code is nearly identical to the other unit test class, but with two major changes:
- There are a couple of new import statements at the top to include the
assertThatandismethods from Hamcrest. - Instead of using
assertEqualsthe last line of each unit test usesassertThat. The order of the arguments is different, but the idea is the same. Also, note the use of theismethod, which is simply stating that it should be equal.
Of course, a simple test case such as this doesn’t show the power of using Hamcrest instead of the built-in assertions in JUnit. If you want to know more about Hamcrest, feel free to check out the Hamcrest documentation. We’ll explore more about using Hamcrest in our unit tests later in this course.
Running Tests
Now that we’ve created a new unit test class, let’s go ahead and run it. Thankfully, we don’t have to do anything else - Gradle will automatically find the new unit test class and execute it along with all the others. So, in a Linux terminal in the java directory, run the following command to execute those tests:
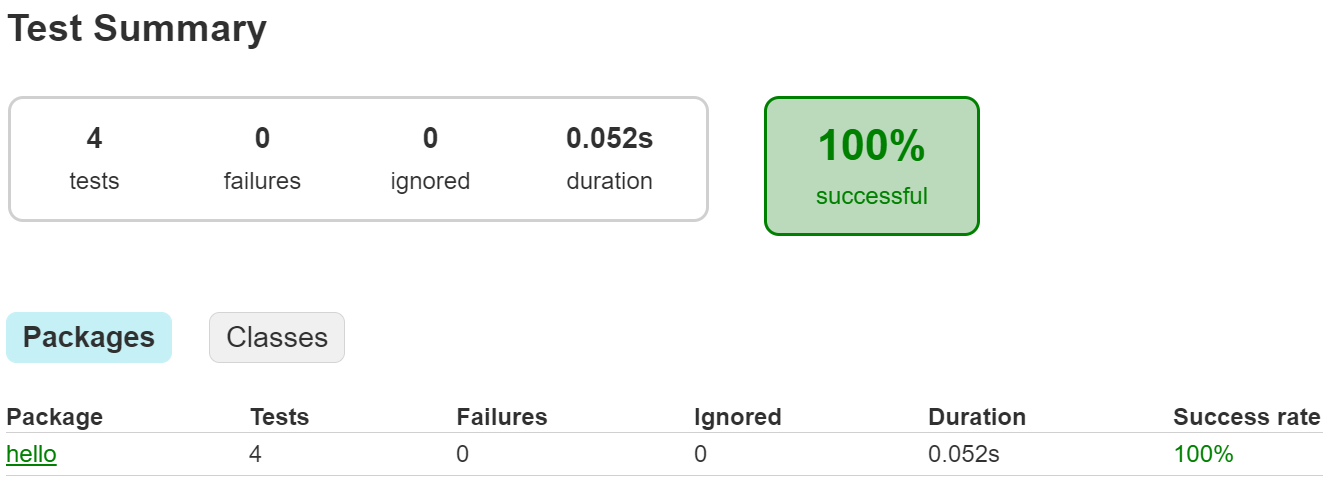
gradle testWhen the tests are complete, we can open the report and we should now see that there are 4 tests that executed successfully:
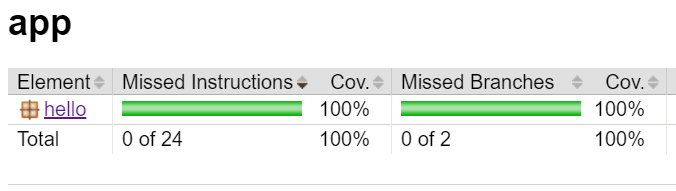
While we’re at it, since we added new code and unit tests we should also check to make sure that our code coverage is still good:
And that our code passes all style checks by running:
gradle checkAnd finally we can regenerate our documentation by executing:
gradle javadocIf you run into any errors on either of those commands, now is a good time to get them resolved before moving on! This is the last step before we submit our code!
Click the link below to jump to the end where we submit our code.