Using in a Game
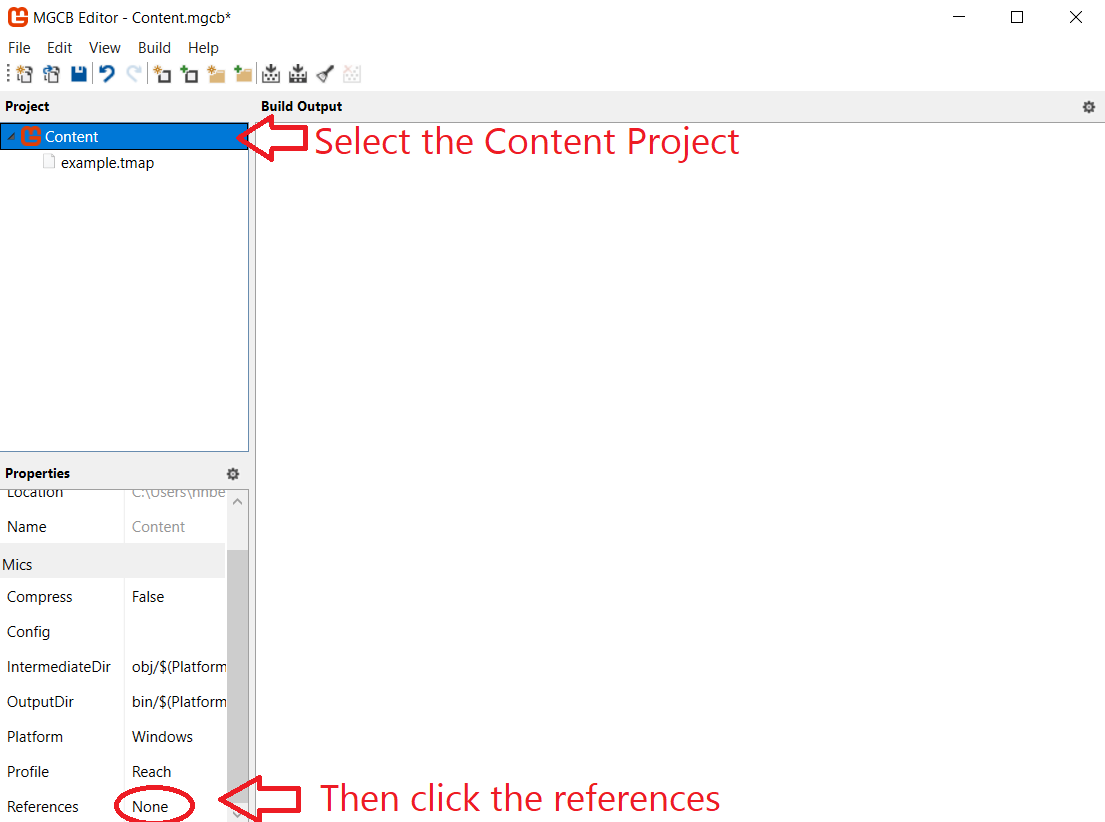
Using our newly-created custom pipeline in a game we are building is not terribly complicated, but does require some understanding of how projects in Visual Studio interact. Perhaps most important to this is understanding that the Content.mgcb file in your game solution is actually another Visual Studio project! As such, it can reference other project, just like the C# projects you are used to. This can be done through the MGCB Editor. Just select the content project itself, and scroll down in the properties until you find the References value:
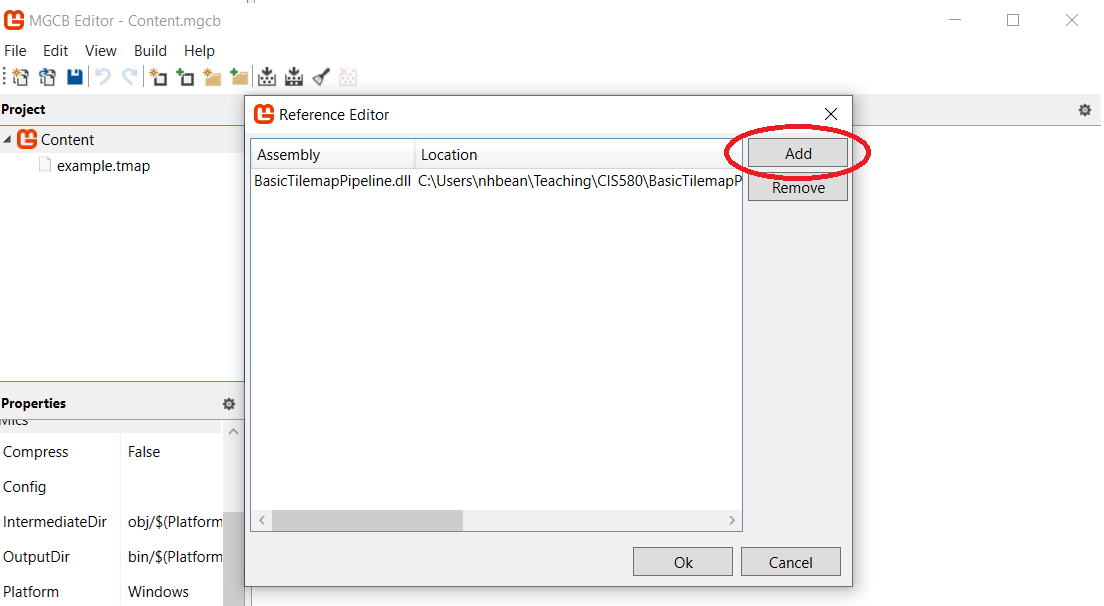
This opens a dialog you can use to add custom pipeline projects as references to your MGCB content project (in the form of .DLL files). Just browse to their location (and remember, they need to be inside your solution folder if you want them committed to your repository).
If your content pipeline project is in the same solution as your game project, you can browse to your content pipeline’s /bin folder to find it.
Alternatively you can set your content project as a dependency of your game project, which will ensure the custom pipeline project built and the DLL is copied into your game project’s /bin folder before the content project is built. This will keep everything up-to-date, but you don’t need the DLL to run your game (so your /bin folder is slightly bloated by this approach). This extra reference can be removed before releasing though, and it is often worth it to ensure changes to your custom pipeline are being applied in development.
You can also manually add the reference to your Content.mgcb file (it is just a text file, after all). The one for our example looks like:
#----------------------------- Global Properties ----------------------------#
/outputDir:bin/$(Platform)
/intermediateDir:obj/$(Platform)
/platform:Windows
/config:
/profile:Reach
/compress:False
#-------------------------------- References --------------------------------#
/reference:..\..\BasicTilemapPipeline\bin\Debug\net6.0\BasicTilemapPipeline.dll
#---------------------------------- Content ---------------------------------#
#begin example.tmap
/importer:BasicTilemapImporter
/processor:BasicTilemapProcessor
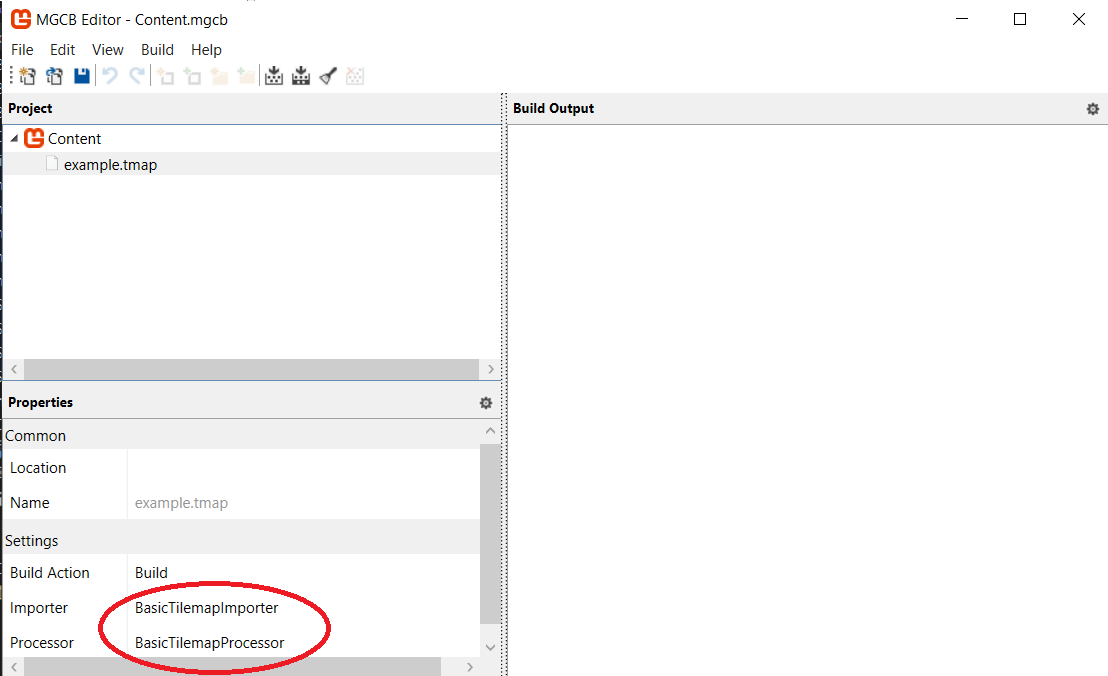
/build:example.tmapOnce the reference is added using any of these methods, you can add your .tmap file to the content project, and it should automatically select the BasicTilemapImporter and BasicTilemapProcessor (You can also manually specify it in the .mgcb project file as shown above):
Once added, you can build the project, and an example.xnb file will be built and deposited in the /bin/Content folder.
Using it in our game simply requires using Content.Load<BasicTilemap>("example.tmap") to load the tilemap into a variable, and invoking its Draw() method to render it.