Pseudocode If-Else
Resources
Another important type of conditional statement is the if-else statement. In an if-else statement, we can run either one piece of code if the Boolean expression evaluates to true, or another piece of code if it evaluates to false. It will always choose one option or the other, based on the value in the Boolean expression.
The general structure of an if-else statement in pseudocode is shown here:
IF(<boolean expression>)
{
    <block of statements 1>
}
ELSE
{
    <block of statements 2>
}
In this structure, the <boolean expression> is any expression that results in a Boolean value. Typically, we use Boolean comparators and operators to construct the statement, along with any variables that are needed. In an if-else statement, unlike an if statement, we see two blocks of statements. The first block of statements, labeled <block of statements 1>, will only be executed if the <boolean expression> evaluates to true. Similarly, the second block of statements, labeled <block of statements 2>, will only be executed if the <boolean expression> evaluates to false. So, our program is effectively choosing between one block of statements or the other, based on the value in the Boolean expression.
To see how an if-else statement works, let’s go through a couple of code traces in an example program.
Code Tracing Example - True
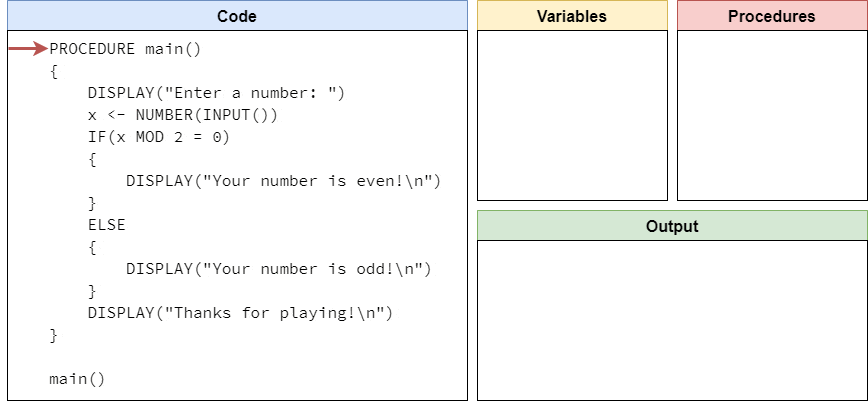
For this example, consider the following program in pseudocode:
PROCEDURE main()
{
    DISPLAY("Enter a number: ")
    x <- NUMBER(INPUT())
    IF(x MOD 2 = 0)
    {
        DISPLAY("Your number is even!\n")
    }
    ELSE
    {
        DISPLAY("Your number is odd!\n")
    }
    DISPLAY("Thanks for playing!\n")
}

main()
This program will accept input from the user, and then determine if the user has input an even or odd number using the modulo operator. Let’s run trace through this program a couple of times to see how an if-else statement works in pseudocode. As always, we’ll start our code trace as shown below:
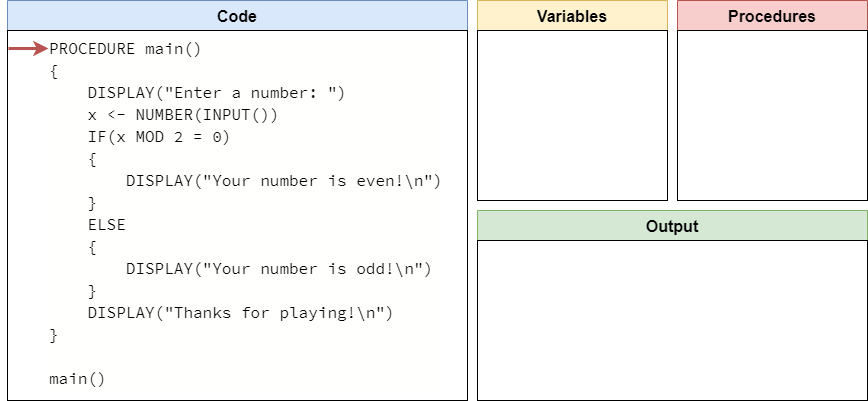
Just like always, our “mental model” of a computer will first skim through the code to find all of the procedures, and then it will reach the call to the main() procedure at the bottom of the code as shown here:

So, we’ll jump inside the main() procedure, and start running the code that is present there:
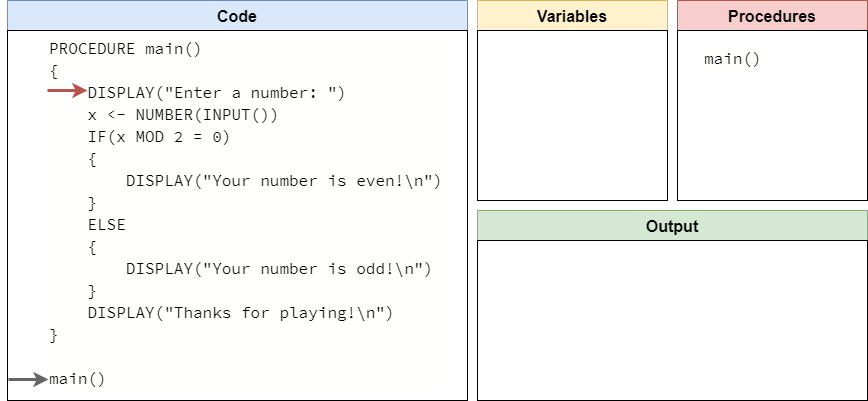
This first line will simply print a prompt for input to the user, so we’ll add that to the output and move to the next line as shown below:
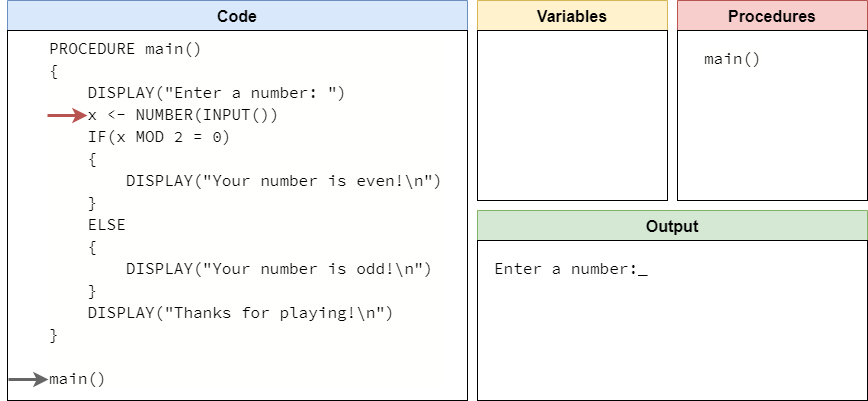
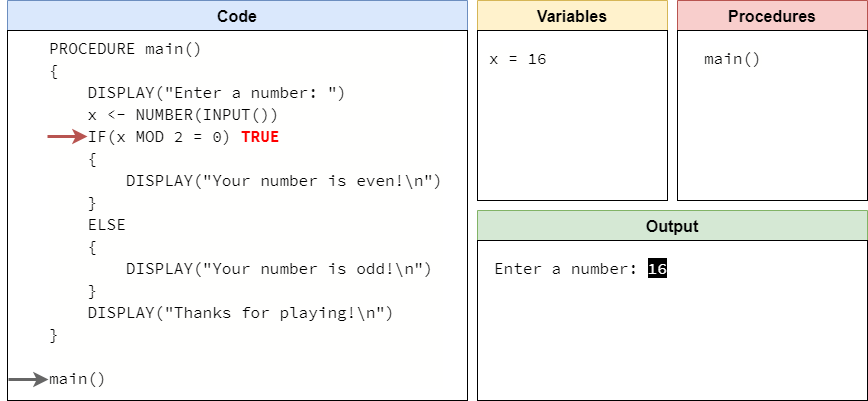
On this line, we’ll read input from the user, convert it to a number, and store it in the variable named x. In this example, let’s assume the user inputs the string "16". In that case, we’ll store the number value $16$ in the variable x as shown in this code trace:

At this point, we’ve reached the first part of our if-else statement. So, the first step is to evaluate the Boolean expression in parentheses and determine if it is either true or false. In this case, our expression is x MOD 2 = 0, so we need to start by evaluating x MOD 2. Recall that the modulo operation will find the remainder of dividing the first number by the second number. Since $2$ goes evenly into $16$ exactly $8$ times, with no remainder, we’ll get the value $0$. So, this expression is really the Boolean expression 0 = 0, which is true:
Since the Boolean expression is true, then our program will move to the first block of statements inside the if-else statement, and start executing that code:
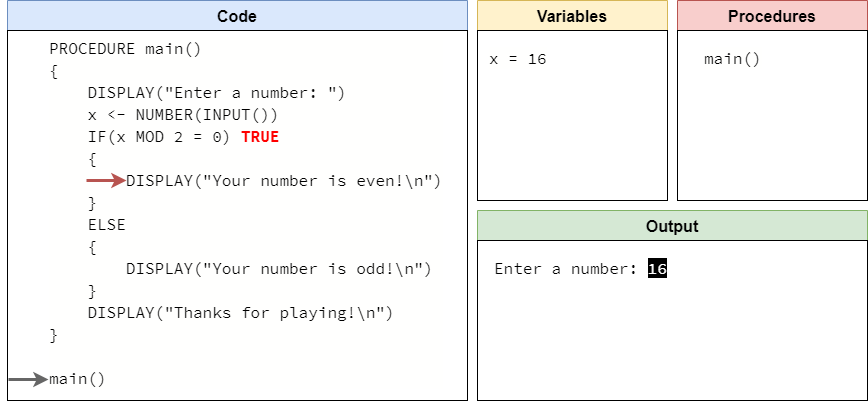
This line will print a message to the user that the number provided as input was even, so we’ll display that in our output:
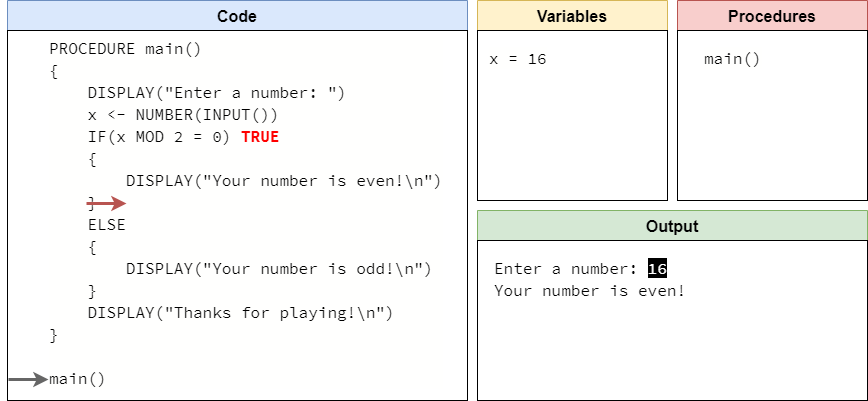
At this point, we’ve reached the end of that block of statements, so we need to figure out where to go next. Since this is an if-else statement, and the Boolean expression was true, that means we can just skip the second block of statements and go straight down to the first line of code after the if-else statement, as shown here:

This line will print our goodbye message to the user, so we’ll show that in our output and move to the end of the main() procedure:
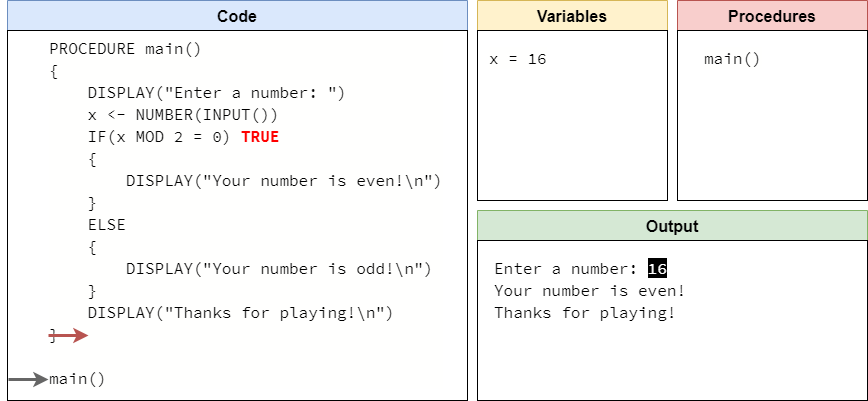
This is the end of that execution of our program. The entire process is shown in the animation below:
Code Tracing Example - False
Once again, let’s go back a few steps in the program to the point where it is expecting user input:
This time, let’s say the user chooses to input the string "13" instead. So, we’ll store the number value $13$ in the variable x as shown in this code trace:
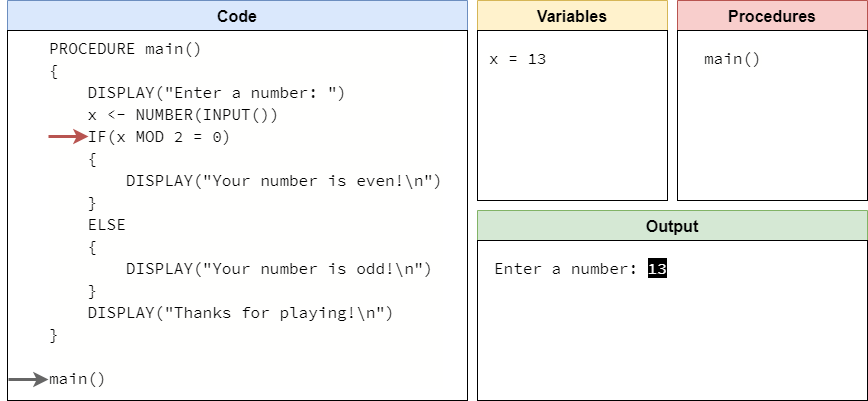
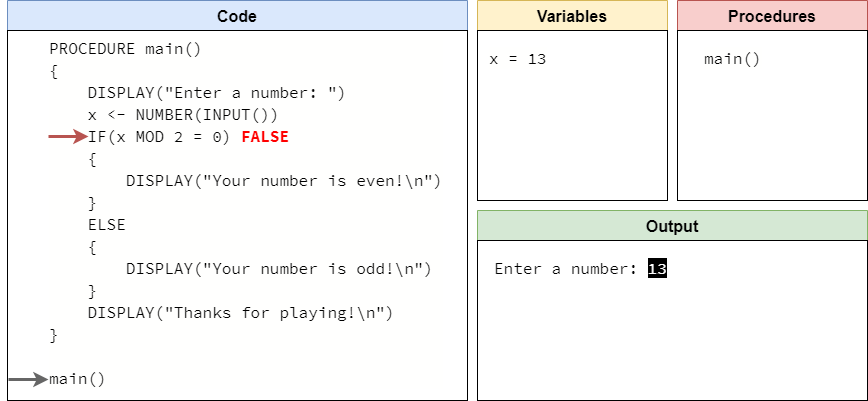
Now we’re back at the start of our if-else statement, but this time when we evaluate the Boolean expression x MOD 2 = 0, we’ll find out that the remainder of dividing $13$ by $2$ is $1$, since $2$ will only go into $13$ a total of $6$ times, for a value of $12$ with $1$ lefover as the remainder. So, since 1 = 0 is is not true, our Boolean expression will evaluate to false:
In this case, our if-else statement will jump down to the second block of statements as shown here:
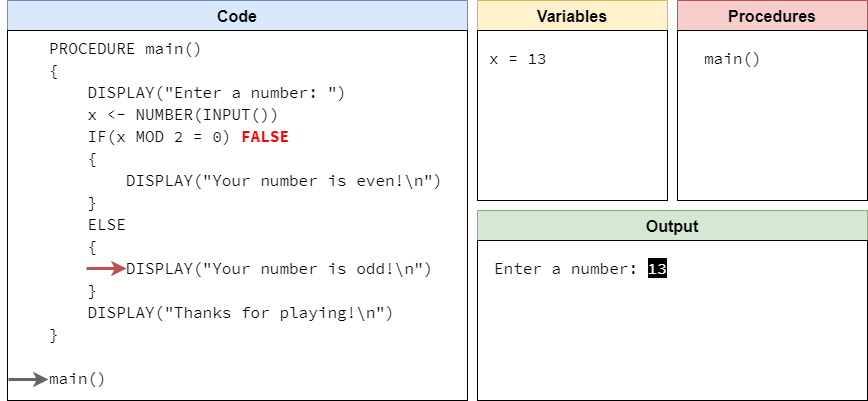
This statement will display output to the user showing that the provided value was odd, as we can see here:
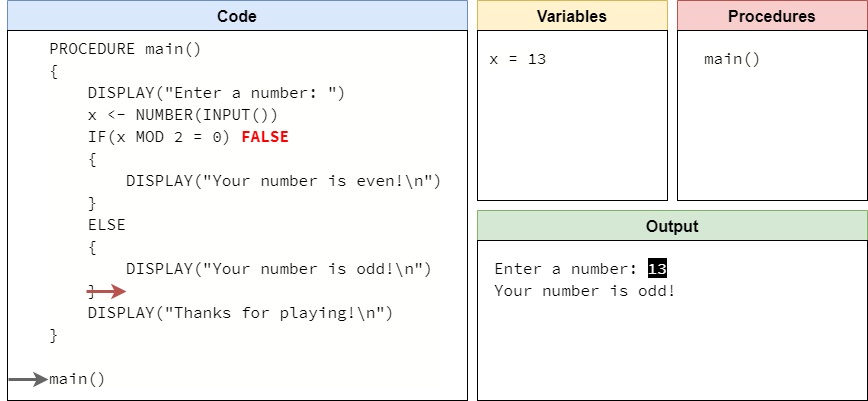
At this point, we’ve reached the end of that block of statements. So, just like when we reached the end of the first block of statements, we can now jump down to the first line of code after the if-else statement:

Once again, this will print our goodbye message to the user:
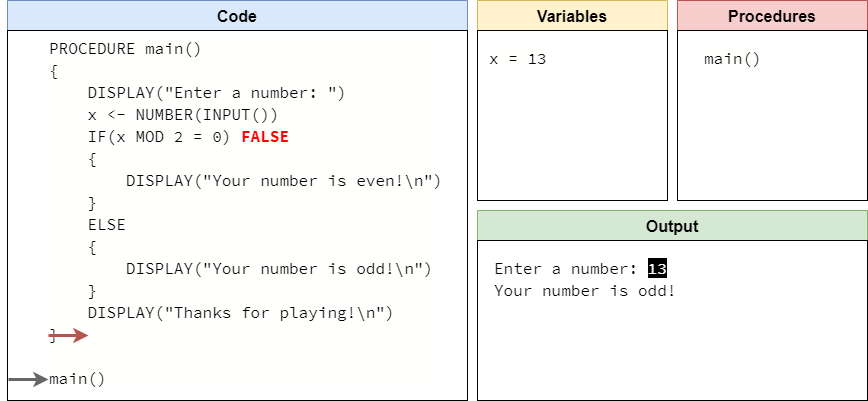
We’ll reach the end of our program here. A full run of this program is shown in the animation below:

If-Else Statement Flowchart
Another way to visualize an if-else statement is using a flowchart. Consider the following pseudocode:
x <- NUMBER(INPUT())
IF(x >= 0)
{
    DISPLAY(x)
}
ELSE
{
    DISPLAY(-1 * x)
}
DISPLAY("Goodbye")
This pseudocode can also be represented as the flowchart shown below:
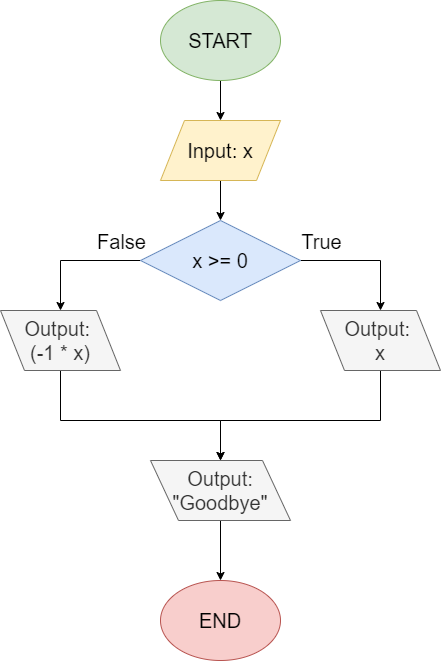
Once again, we start at the top of the flowchart at the circle labeled “START”. From there, we read an input from the user and store it in the variable x. At this point, we reach our if-else statement’s decision node, represented by the diamond. Here, we are using the Boolean expression x >= 0 to determine which branch to follow. So, if the user inputs a positive value, then we’ll follow the path to the right that is labeled “True”, which will simply print the value of x to the screen.
However, if the user inputs a negative value for x, then the Boolean expression will be false and we’ll follow the path to the left labeled “False”. In this branch, we’ll print the value of (-1 * x) to the screen, which simply removes the negative sign from the value in x.
Finally, after each path, we’ll merge back together to run the last piece of code, which prints the "Goodbye" message to the screen.
Notice that there is no way to print both x and -1 * x in the same execution of this program. If we follow the arrows through the flowchart, we see that we can only follow one branch or the other, and not both. This is an important concept to remember when working with if-else statements! The control flow of the program can only pass through one of the two blocks of statements, but not both.