Install Tox
Working with Python on the Linux terminal can be complicated, especially as projects become larger and larger. Thankfully, there are many tools that have been developed to simplify this process. For this course, we’re going to use one such tool, called tox.
Tox
tox is a tool that is developed to help automate and standardize the process of testing applications written in Python. It vastly simplifies many of the steps we’d have to follow to do this in our own project.
tox works by creating virtual test environments and then running our code within those environments. This allows us to test our program using a clean copy of Python with the version and libraries we specify.
The main reason we’ve chosen to use tox in this course is the ease with which it can be used, and the fact that it is available directly as a Python library.
Install tox
To install tox, we can simply install it using pip. So, in a Linux terminal, enter the following command:
pip3 install toxThat’s all it takes! As we’ll quickly learn, using pip to install Python libraries is quick and easy to do.
Creating a Requirements File
One of the things that we’ll need in order to use tox is a requirements file. A requirements file simply lists the libraries that we’ve installed via pip as part of this project. Then, if we decide to work on this project either on a different computer or within a virtual test environment, like the one we’ll create with tox, we can easily reinstall all of those libraries again. You can learn more about requirements files in the pip Documentation
To create a requirements file, navigate to the python directory in the Linux terminal, and then run the following command:
pip3 freeze > requirements.txtThat should create a file called requirements.txt in the python directory. When we open it, we should see contents similar to this:
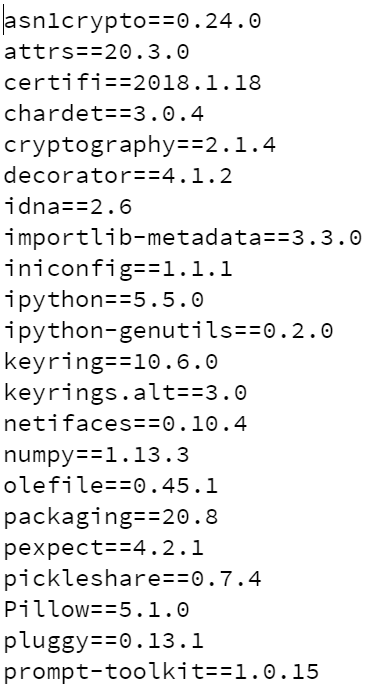
As we can see, there are a lot of libraries already installed - many more than we installed manually. This is because the pip3 freeze command will list all libraries installed, even if they were installed as a dependency for another library.
There are some pros and cons to this approach:
- Pro: Listing all of the libraries makes it easy to see exactly what is required, including the specific versions
- Con: It is difficult to tell which of the libraries are required, and which ones are simply dependencies
Because of this, we’re going to create our own requirements file that just lists that basic libraries we need. This will make it easier for us to keep track of the libraries we are using for this application.
So, go ahead and open up the requirements.txt file in the python directory, and replace it’s contents with the following:
pytest
pytest-html
tox
Then, whenever we need to reinstall the requirements for our program, we can use the following command when we are in the python directory:
pip3 install -r requirements.txttox will also use this requirements file to set up our test environment, as we’ll see in the next section.
tox Configuration
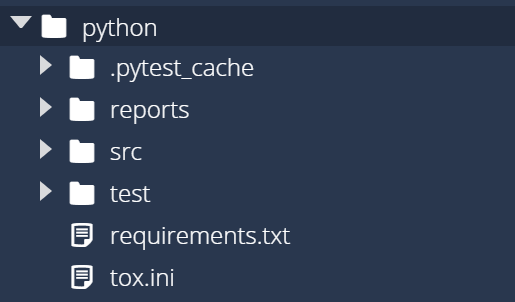
Next, we’ll need to create a configuration file for tox. The tox configuration file should be stored directly in the python directory with the name tox.ini. So, we should have the following structure once that file is created:
The basics of creating a configuration file for tox are detailed in the tox documentation. For now, we can use a quick starter file. So, place the following contents in the tox.ini file:
[tox]
envlist = py310
skipsdist = True

[testenv]
deps = -rrequirements.txt
commands = python3 -m pytest --html=reports/pytest/index.html
Let’s go through the settings in this configuration file to understand what it does
[tox]- the[tox]entry is the header for a section of the file. In this case, it stores the global settings for tox.envlist = py310- this tells tox to only use Python version 3.10 for testing. If we want tox to test our program using multiple versions of Python, we can add them to this list.skipsdist = True- this tells tox to skip the step of installing our application in the test environment. We do this because we haven’t set configured our application to be installed. We’ll cover how to do this later in this course.[testenv]- this section defines the test environments that tox will createdeps = -rrequirements.txt- this tells tox to install the requirements listed in therequirements.txtfile. We include a-rat the beginning to match thepipcommand. There is no space between-randrequirementsfor some reason.commands = python3 -m pytest --html=reports/pytest/index.html- this is a list of command that tox should execute to test our application. We’ll use thepython -m pytestmethod to execute pytest here, since that will better match the commands we’ll add to this file as we continue to build our project.
That’s a very basic configuration file for tox, but it allows us to begin automating the process of testing our code.
Running tox
Now that we’ve configured tox, let’s try to run it. Thankfully, running tox is super simple. In a Linux terminal that is in the python directory, simply run this command:
toxIf everything is working correctly, we should get the following output:
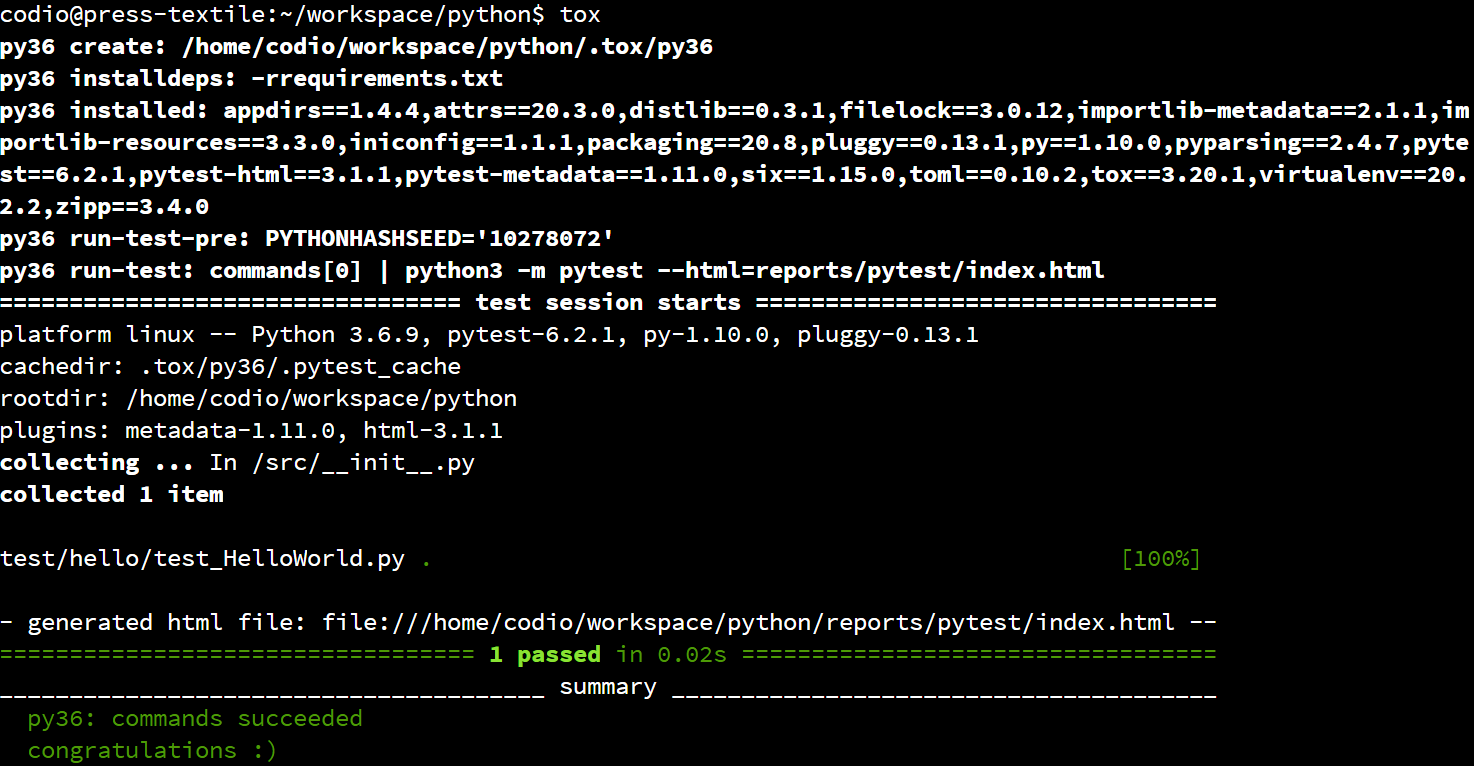
When we execute tox, it performs a few tasks:
- tox will create a virtual environment for Python 3.10 in the
.toxfolder it creates. This allows it to run tests in isolation, away from the version of Python we are using in Codio. - It will then install all of the requirements listed in the
requirements.txtfile. This makes sure our application and unit tests can execute. - Then, it will run all of the test commands in the
commandslist intox.ini. Right now there is just one command, so it will run our unit tests with pytest.
The first time we run tox it may take a little while to set up the virtual environment. Thankfully, subsequent runs will be much faster since the virtual environment is already set up.
However, if we ever want to force tox to completely reset the virtual environment, we can just delete the .tox folder it creates.
Now that we have successfully set up and configured tox, let’s explore some of the other tools we can use with tox.