Documentation
The next step in writing good code is adding proper documentation and comments to describe the code and what it does. By writing good documentation, we can pass on helpful information to other developers who need to maintain this code, including our future selves!
Javadoc
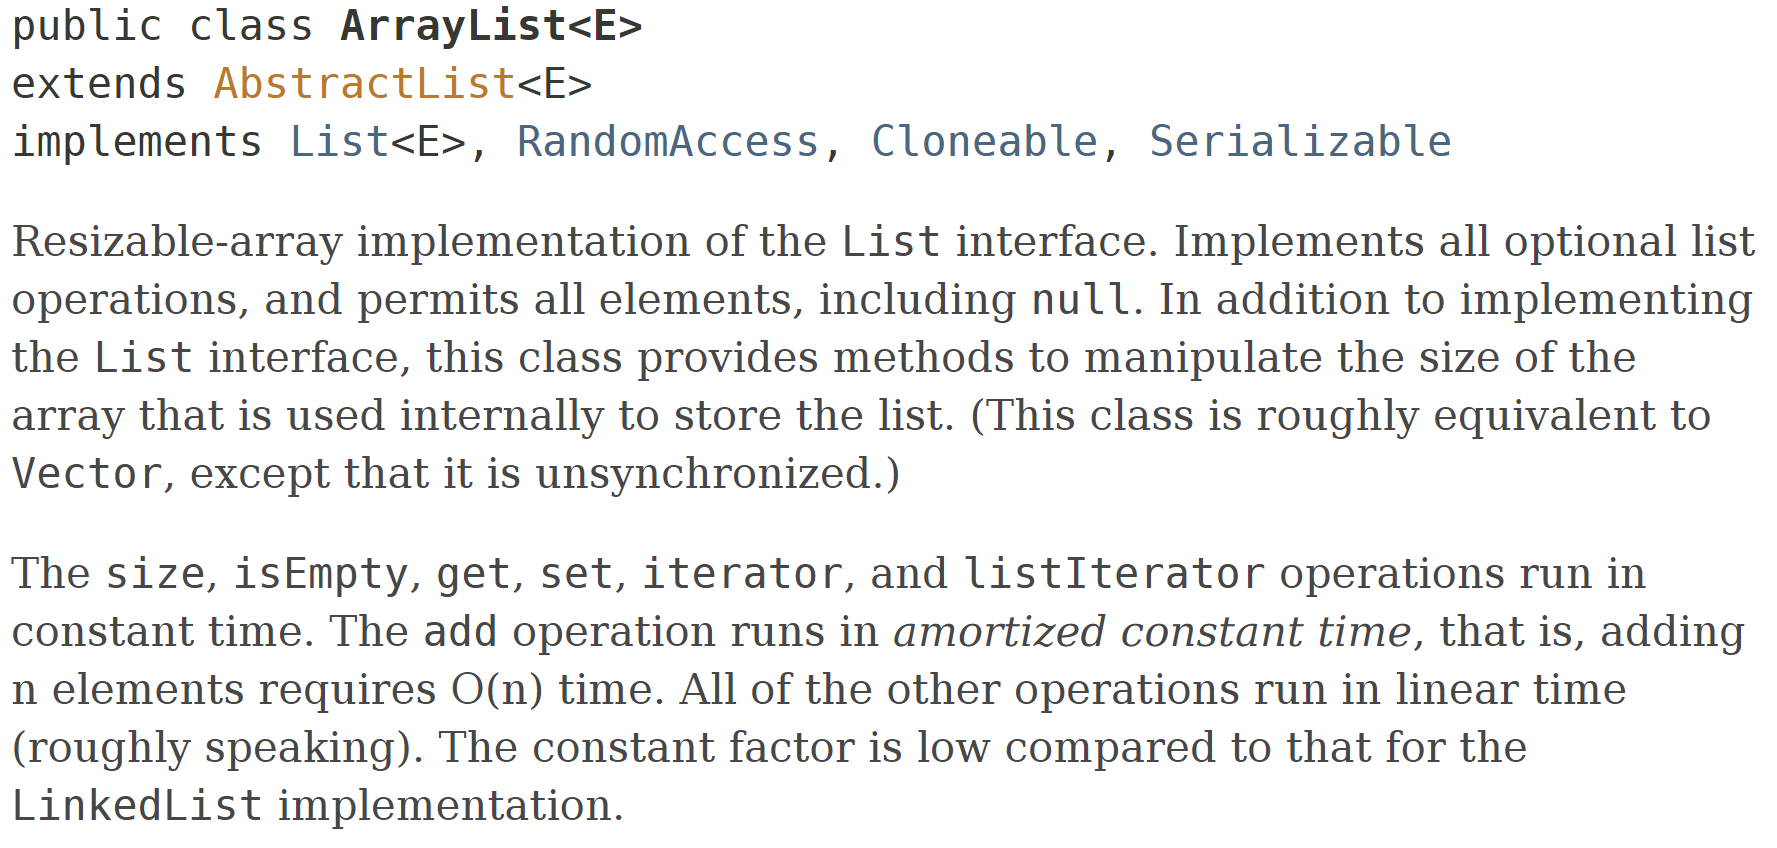
The Java platform includes a tool called Javadoc that can be used to generate documentation directly from the comments in a piece of source code. A great example that we already explored in the textbook is the entire Java API Documentation, which is generated directly from the Java source code using Javadoc. For instance, you can compare the comments at the top of the ArrayList source code file:
/**
 * Resizable-array implementation of the <tt>List</tt> interface.  Implements
 * all optional list operations, and permits all elements, including
 * <tt>null</tt>.  In addition to implementing the <tt>List</tt> interface,
 * this class provides methods to manipulate the size of the array that is
 * used internally to store the list.  (This class is roughly equivalent to
 * <tt>Vector</tt>, except that it is unsynchronized.)
 *
 * <p>The <tt>size</tt>, <tt>isEmpty</tt>, <tt>get</tt>, <tt>set</tt>,
 * <tt>iterator</tt>, and <tt>listIterator</tt> operations run in constant
 * time.  The <tt>add</tt> operation runs in <i>amortized constant time</i>,
 * that is, adding n elements requires O(n) time.  All of the other operations
 * run in linear time (roughly speaking).  The constant factor is low compared
 * to that for the <tt>LinkedList</tt> implementation.
and the top of the ArrayList documentation in the Java API:
So, let’s explore how to create this documentation for our code.
Install Javadoc in Gradle
Thankfully, since the Javadoc tool is included as part of the Java software development kit, or SDK, so we won’t have to do anything to use it via Gradle. However, we’ll add one section to our build.gradle file to configure Javadoc. So, let’s open build.gradle again and add the following section to the bottom of that file:
// Add tests to Javadoc
javadoc {
  classpath += project.sourceSets.test.compileClasspath
  source += project.sourceSets.test.allJava
}
This configuration will tell the Javadoc tool to generate documentation for both our main application’s source code, but also the source code for our unit tests. While you may not want to do this for documentation you intend to release publicly, it can be very handy for developers to have an easy to refer to guide for both the unit tests and the source code itself.
Class Comments
The first type of Javadoc comments we’ll review are the comments that go along with classes. Let’s look at an example of comments that we could include at the top of our HelloWorld.java file:
package hello;

/**
 * The HelloWorld class.
 *
 * <p>This is a sample HelloWorld program to demonstrate proper
 * Java coding style, testing, documentation, and more
 *
 * @author Russell Feldhausen russfeld@ksu.edu
 * @version 0.1
 */
public class HelloWorld
{
...
There are lots of new things in this block of comments, so let’s look at each part individually:
- To create a large, multi-line comment in Java, we use
/*prior to the comment and*/at the end of the comment. - Comments for documentation include an extra asterisk at the beginning of the comment, so we actually see
/**. This is known as the “begin-comment delimiter.” - Typically, each line of the multi-line comment is prefixed by an asterisk
*and placed such that it is aligned with the first asterisk of the start of the comment. Likewise, the first asterisk of the end of the comment is also aligned with the column of asterisks. - The first paragraph of a Javadoc comment should give a short description of the class or method. It does not start with a
<p>tag, but should use complete sentences. - Any additional paragraphs must start with a
<p>tag. Additional paragraphs provide more helpful information about the method or class. However, unlike HTML, no closing</p>tag is required at the end of the paragraph - The end of the comment block consists of a set of optional tags. Javadoc includes several descriptive tags that begin with the at symbol
@. They are used to denote important information about the class or method being documented. Classes typically include the following tags at a minimum:@author- Denoting the author of this code. Multiple authors should be listed on separate lines with additional@authortags@version- The version of the software or source code.
In most cases, every public class should include a documentation comment with at least a description, @author, and @version tags. If you haven’t already, go ahead and add comments similar to the example above to the HelloWorld class stored in HelloWorld.java! Make sure you update the @author tag to include your name.
Method Comments
Likewise, let’s look at the comments for a specific method. For example, here are some example comments for the main method in the HelloWorld class:
    /**
     * Prints a hello message to the terminal.
     *
     * @param args    the command-line arguments
     */
    public static void main(String[] args)
    {
    ...
Similar to the class comments above, each method also includes a description, and may include additional paragraphs as needed. Methods use a different set of Javadoc tags to describe their functionality, and they are presented in the order listed below:
@param- Each method parameter should be described using an@paramtag, followed by the name of the parameter and a description of what the parameter represents.@return- If the method returns a value, it can be described using an@returntag.@throws- If the method throws any exceptions, they can be described using@throwstags.
Similar to classes, most methods should also include a documentation comment. At a minimum, it should include a description, as well as any required @param, @return and @throws tags to describe the method in detail. So, go ahead and include comments for the main method in the HelloWorld class based on the example above.
Other Comments
Finally, individual variables in the source code can also be documented using Javadoc comments. Typically any attributes or fields stored directly within the class itself are documented in this way. We don’t have any attributes in our current program, so we won’t worry about this part for now.
We’ll discuss the creation of Javadoc comments in more detail later in this course. For now, feel free to refer to these resources for additional information:
- Javadoc on Wikipedia
- How to Write Doc Comments for the Javadoc Tool from Oracle
- Java - Documentation Comments from TutorialsPoint
- ArrayList from the OpenJDK Platform - A great example of proper documentation comments
Documenting Tests
Let’s briefly look at a documented version of our unit test code as well, just to see what that looks like. Some of the code has been omitted so we can just focus on the comments:
// package and imports omitted

/**
 * The HelloWorldTest class.
 *
 * <p>This is the test class for the HelloWorld program.
 *
 * @author Russell Feldhausen russfeld@ksu.edu
 * @version 0.1
 */

public class HelloWorldTest {

    /**
     * Tests the HelloWorld.main() function with no arguments.
     *
     * @see    HelloWorld#main(String[])
     */
    @Test
    public void testHelloWorldMain() {
        // code omitted
    }

    /**
     * Tests the HelloWorld.main() function with 1 argument.
     *
     * @see    HelloWorld#main(String[])
     */
    @Test
    public void testHelloWorldMainArgument() {
        // code omitted
    }
}
Notice that these comments use the @see tag. That tag allows us to create a link to another part of our documentation. We’ll see how this works once we generate our documentation. For now, go ahead and place comments similar to what you see above in your HelloWorldTest.java file. As before, don’t forget to change the @author tag to your name!
Generating Documentation
Once we’ve added the comments to all of our files, we can use Gradle to create our documentation. To do that, we’ll simply open a Linux terminal, go to the java directory, and run this command:
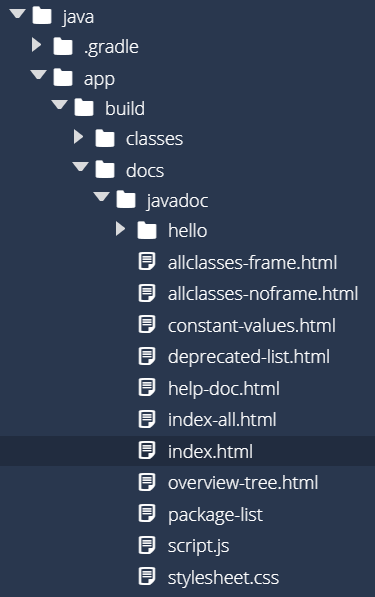
gradle javadocThat will create our documentation! Once it is done, we can go to the app/build/docs/javadoc directory to find our documentation. We should see something similar to this:
As before, we can find the index.html file, right-click it, and select Preview Static to open our documentation as a webpage. That should open a page that looks like this:
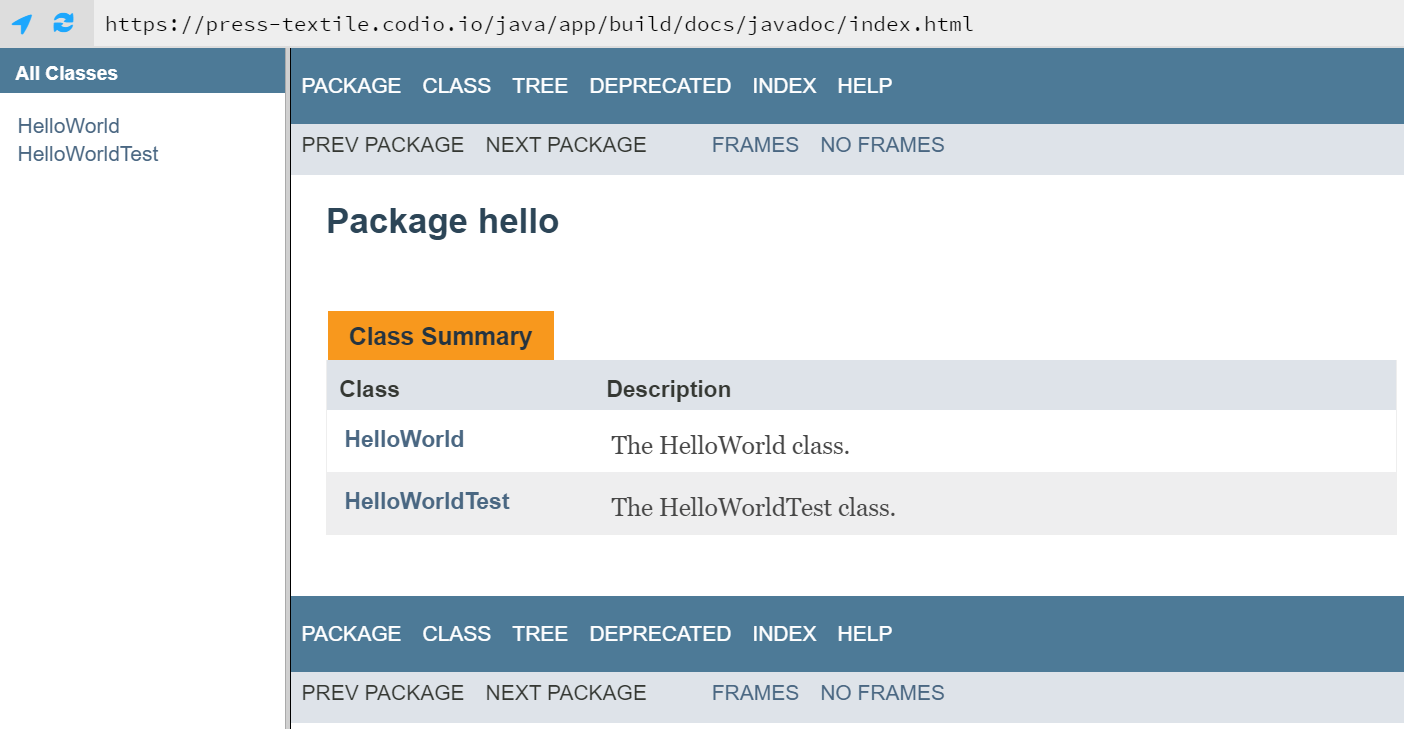
Doesn’t that look familiar? The design should hopefully remind you of the Java API Documentation that you are hopefully very used to working with at this point. From here, we can click through the links to learn more about each class. Let’s take a look at the documentation for our HelloWorldTest class. Toward the bottom of that page, we should see a description for the methods that looks like this:
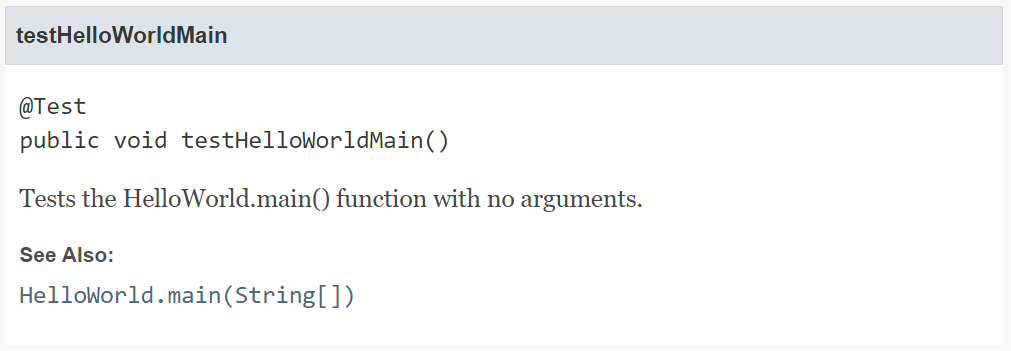
Notice that there is a “See Also” section at the bottom? That was created by the inclusion of the @see tag in the comment! So, we can add some useful information to our documentation comments that make our documentation easy to follow. If you look at the comments in the ArrayList file we’ve been using as an example, you’ll see even more ways to add helpful information to your documentation.